Reserveret til billeder. Tekst mm.
Her skal der gerne proppes et fyr ind snarligt. Fyret var endnu ikke bestemt på forhånd.
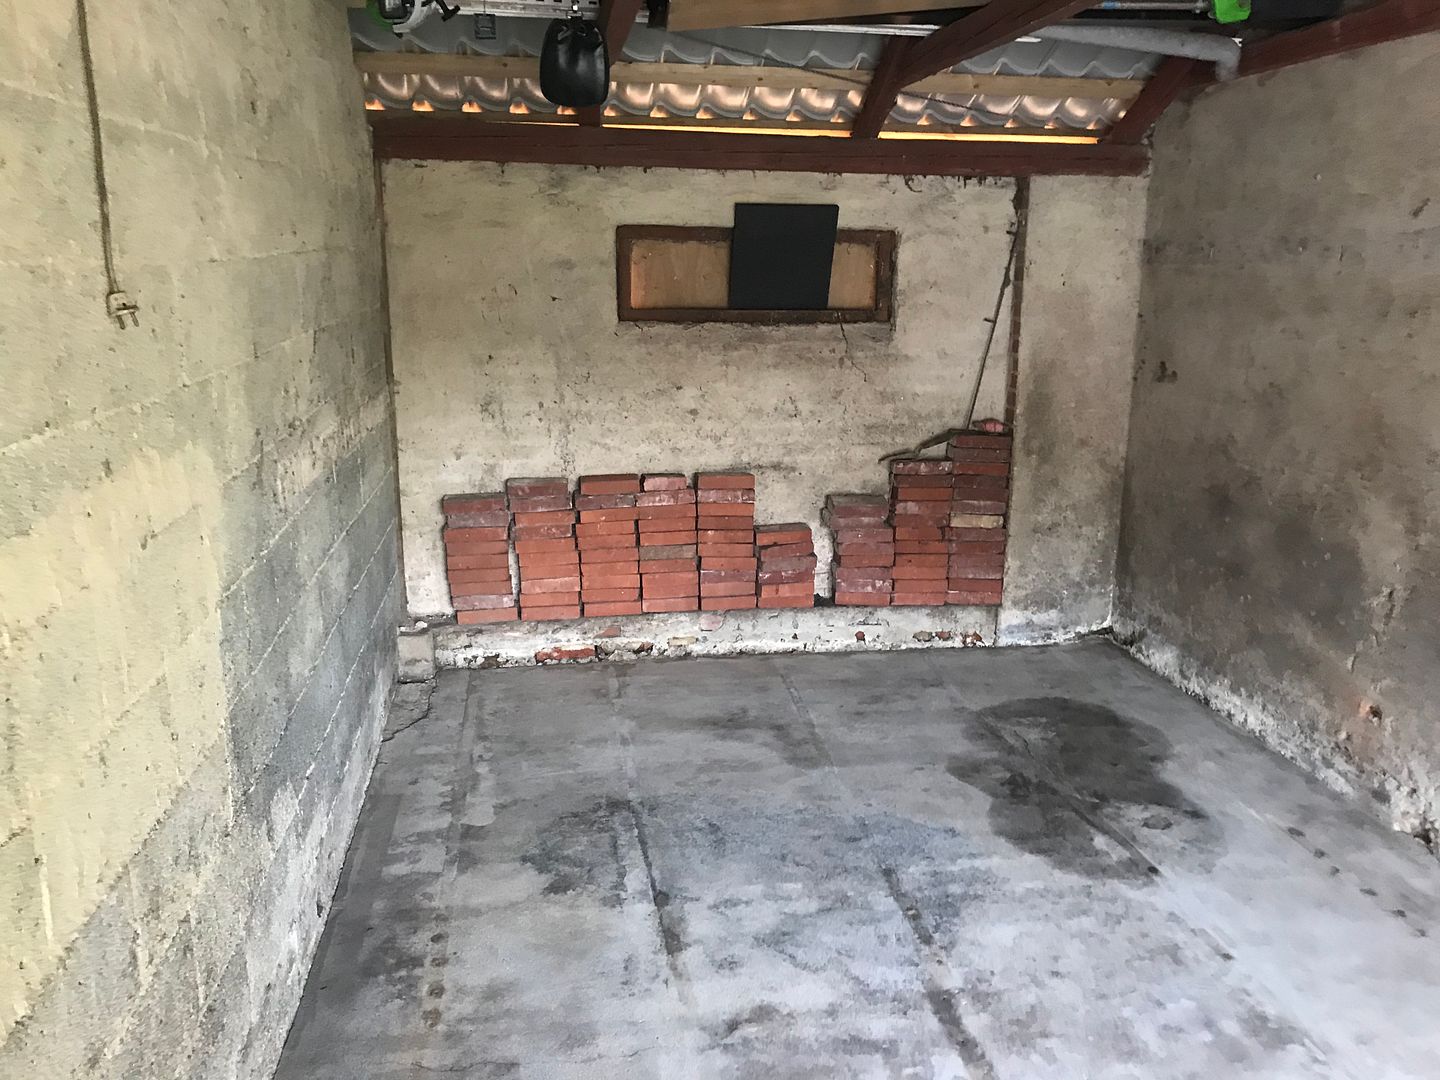
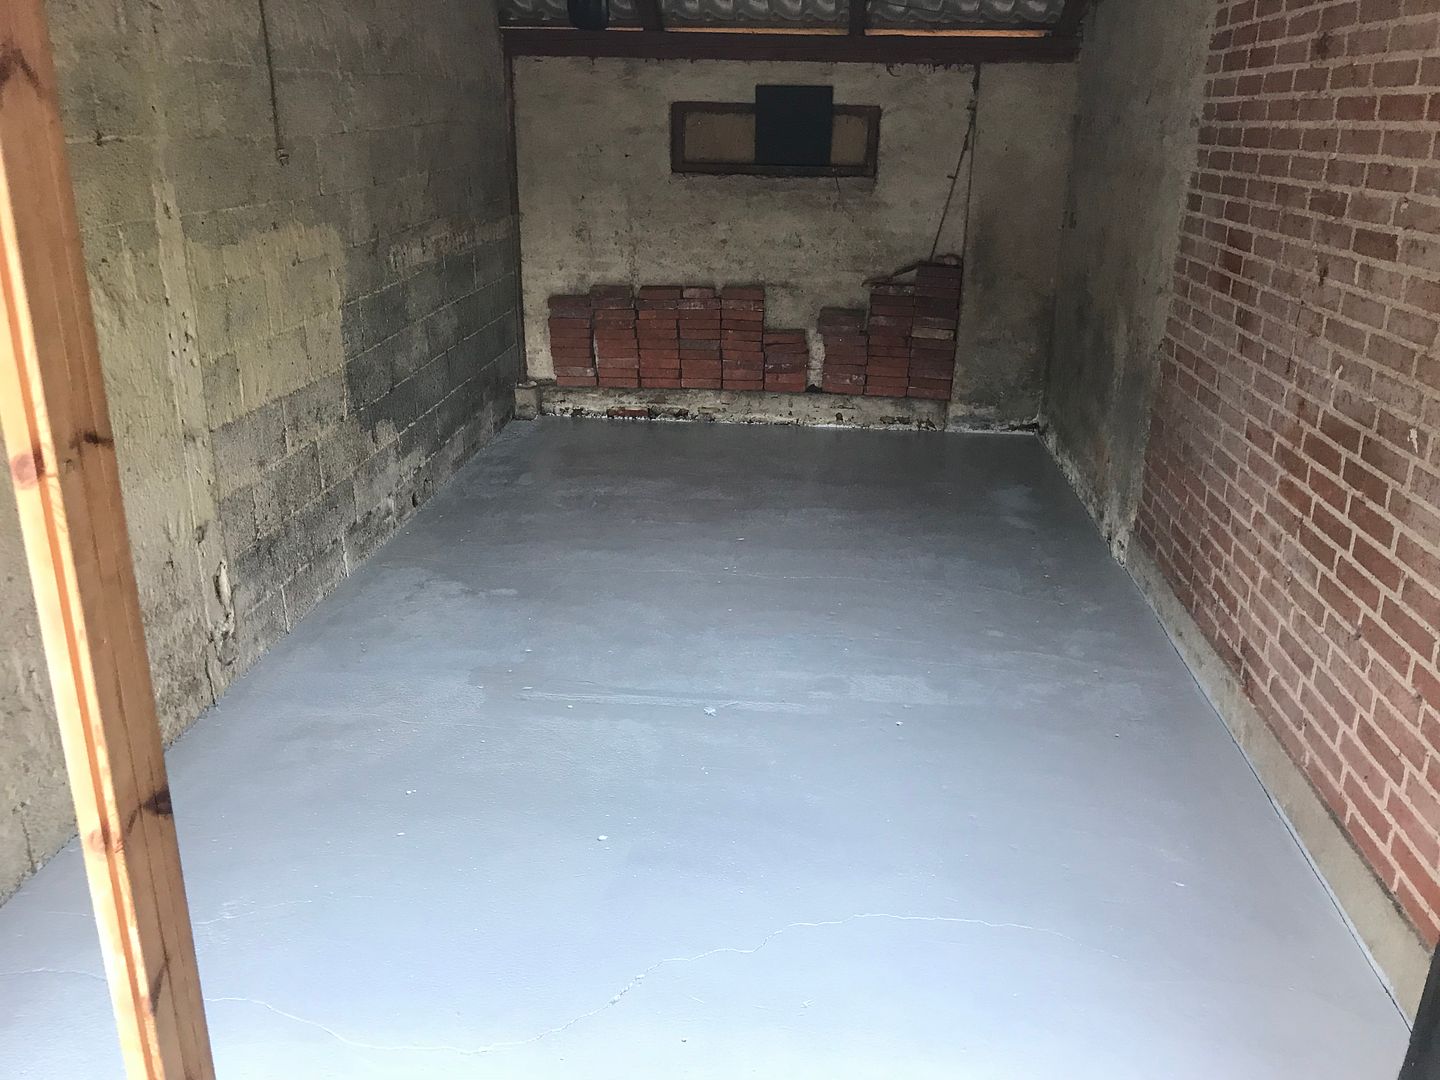
Da jeg tidligere har arbejdet med kvalitets sikring af større OEM komponenter til vindmølle industrien. Havde jeg rig mulighed for at få adgang til 2K maling i både epoxy og polythane. Denne overflade behandling er polythane, og er blevet påført i tre lag.
Først blev gulvet grundigt afrenset med højtryk, samt Maxi 3 industrirens. Der blev foretaget "
water on goose test" på de olie stænk der var på gulvet. Men alle bestod testen
")
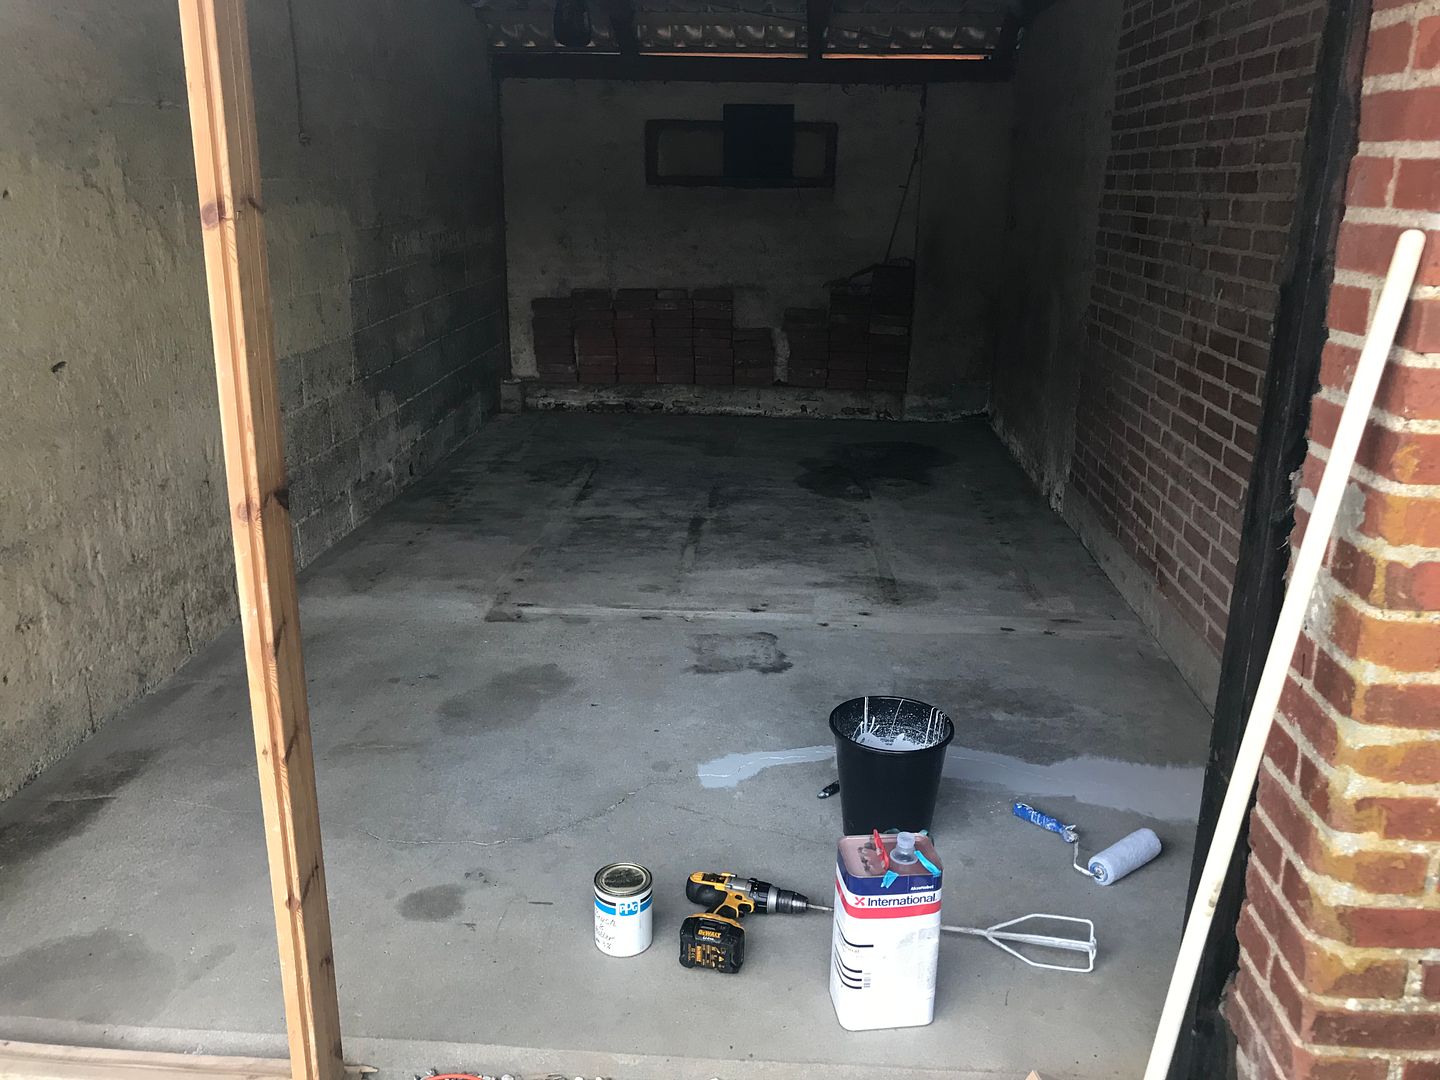
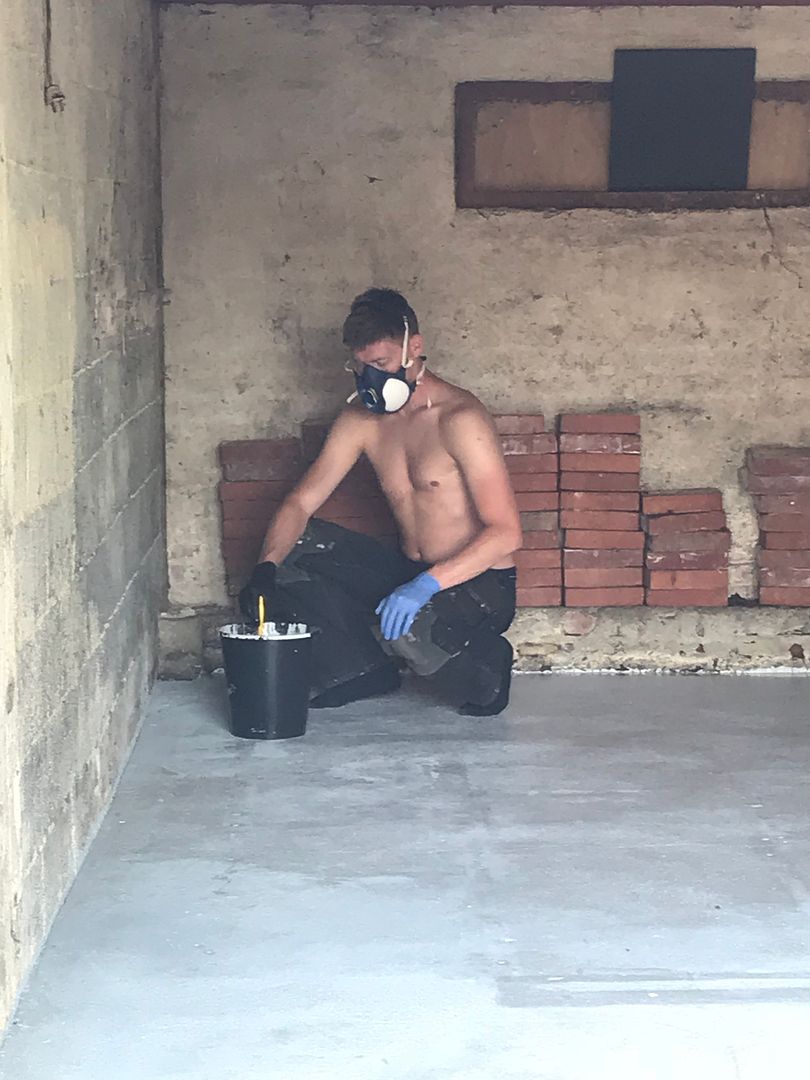
Første lag blev påført med 30% iblandet fortynder for, at være sikker på at få en tilstrække binding til underlaget.
Andet lag blev påført ufortyndet, i et yderliger tyndt lag.
Sidste lag blev påført lidt tykkere for, at være sikker på en pæn sammenflydet overflade.
Der blev sammenlagt brugt 20L Hempathane til dette.
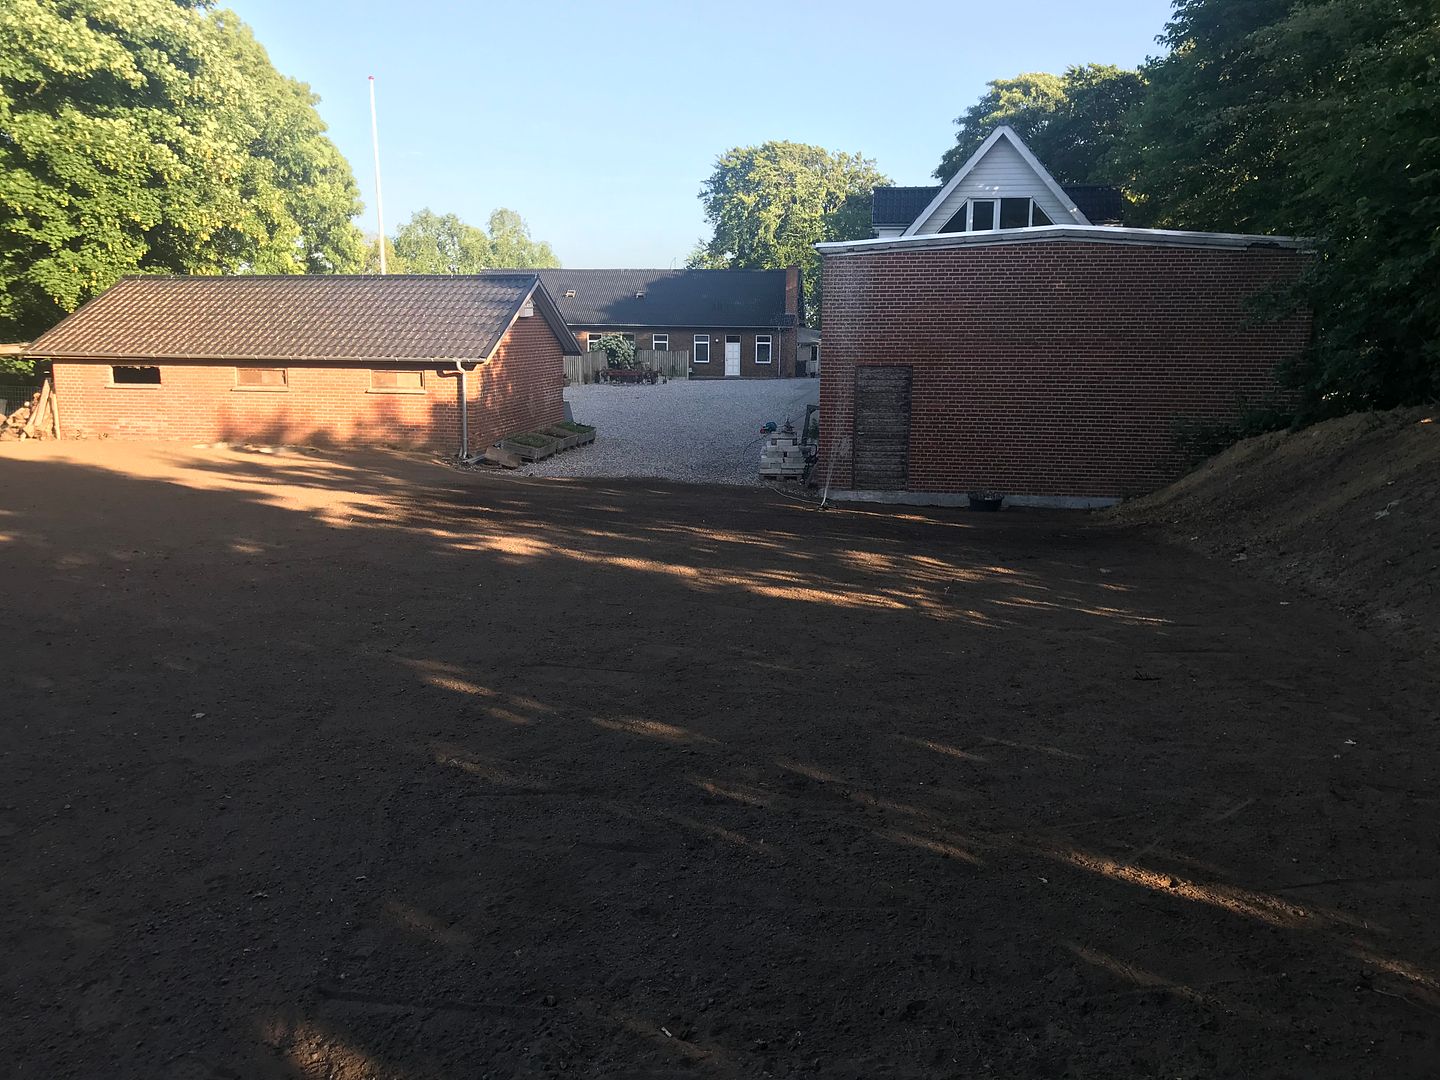
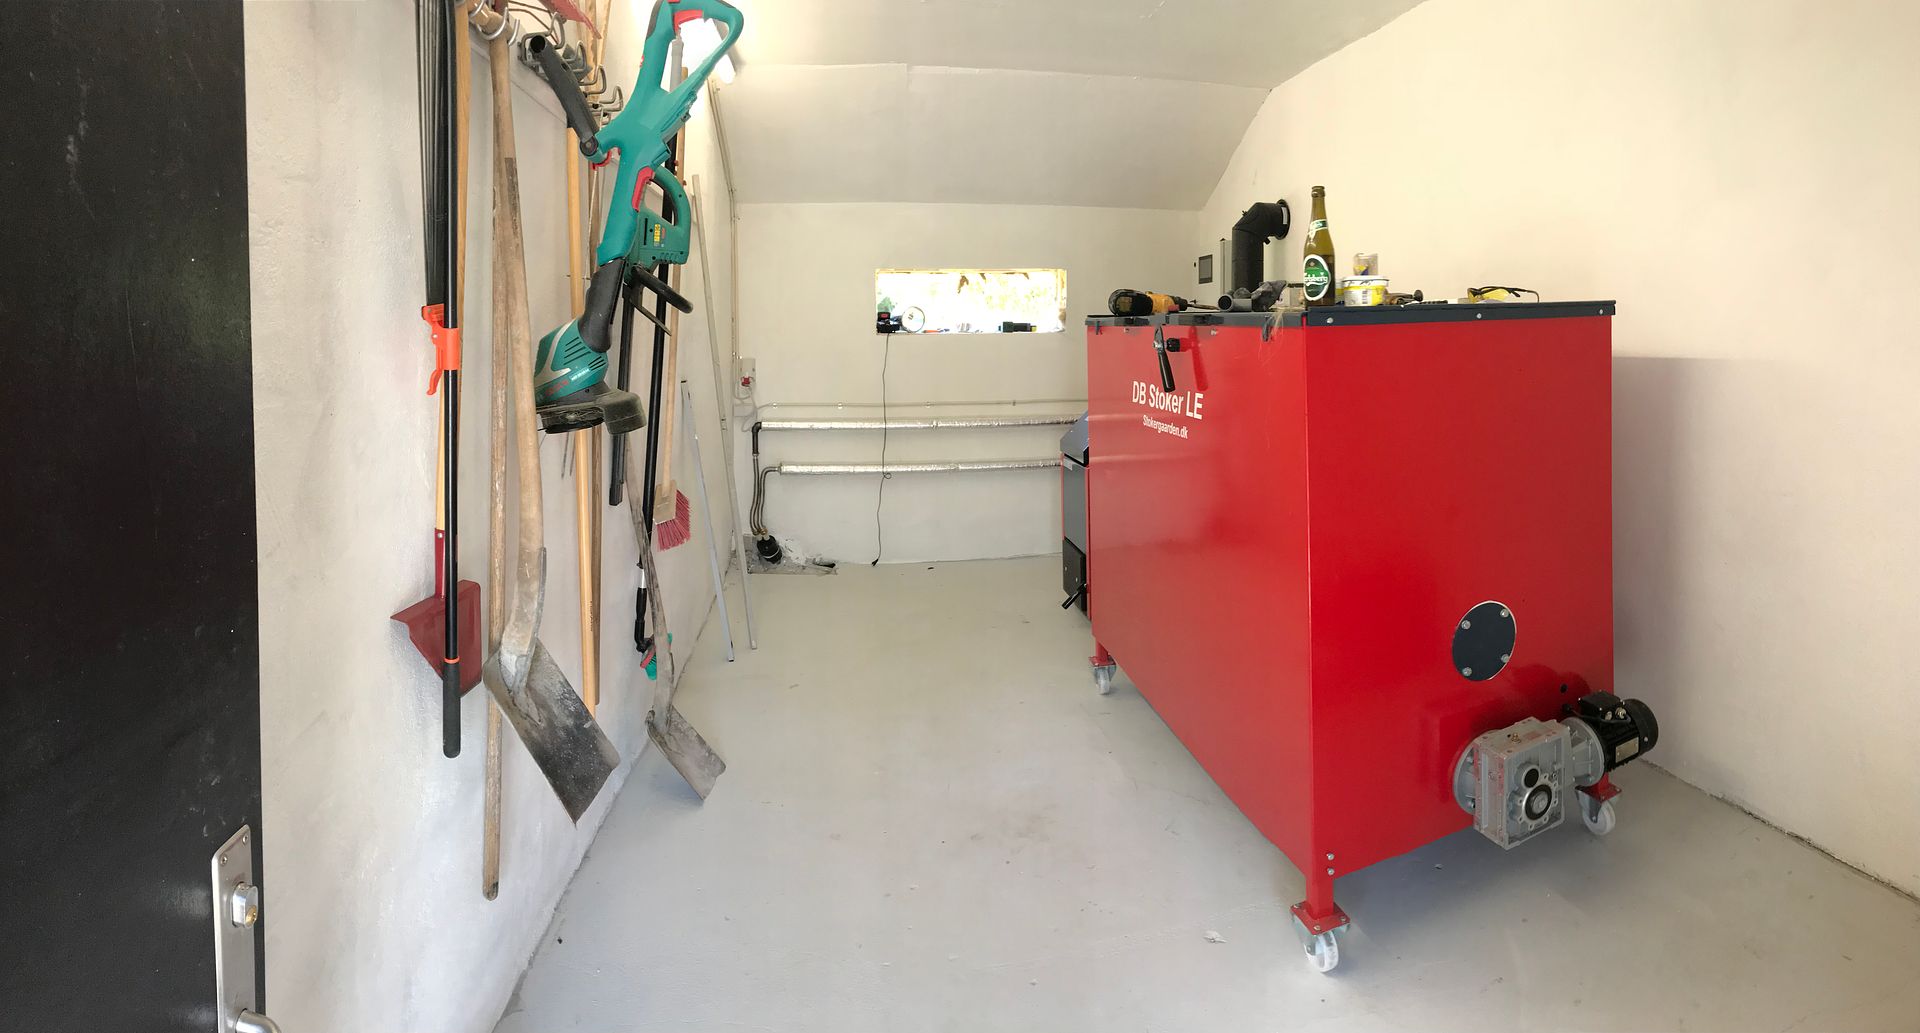
Bilgaragen hvor fyrrummet bliver bygget i, ligger lidt afsides. Der skal derfor forbindes et isoleret pex rør mellem fyrrummet og værkstedet.
Der er blevet indkøbt 20m rør i 2x32mm (Svarende til 1" rør)
Det viste sig, at 20m kun lige var nok. Derfor har røret en træls vinkel på

De 2 bygninger der skulle forbindes. Inde i værkstedet vil rørene komme til, at sidde i loftet i 1" rør. Rør som jeg i sin tid tog med fra mine forældres gård, hvor rørene blev brugt til, at forbinde stald inventar til grise. Så det var gratis

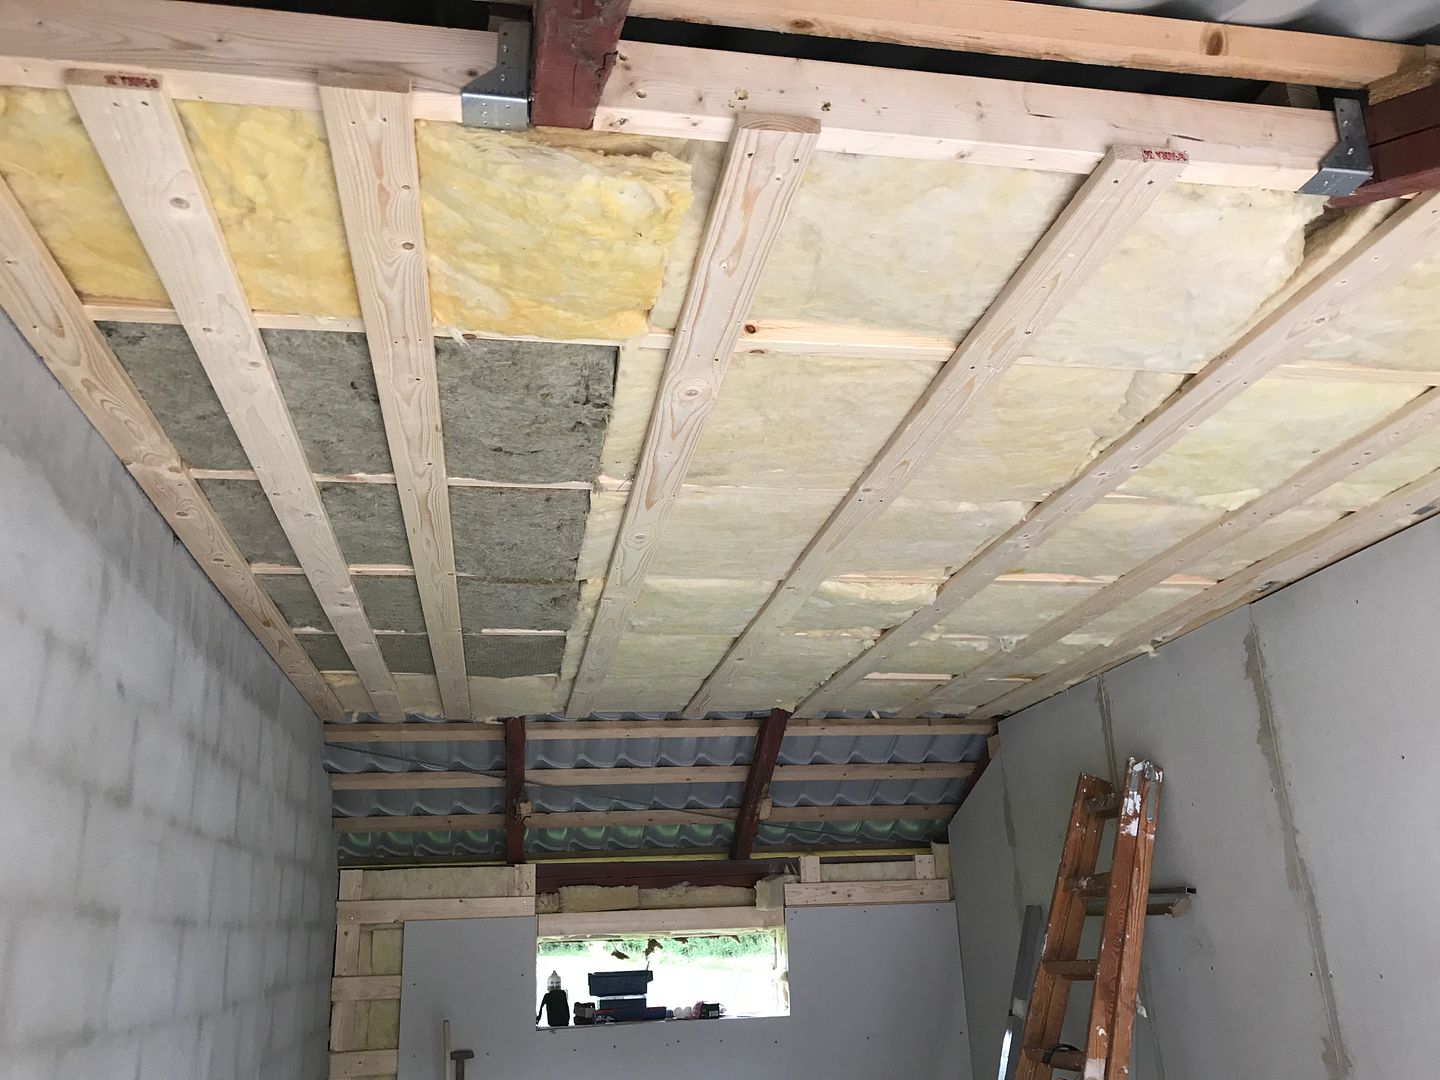
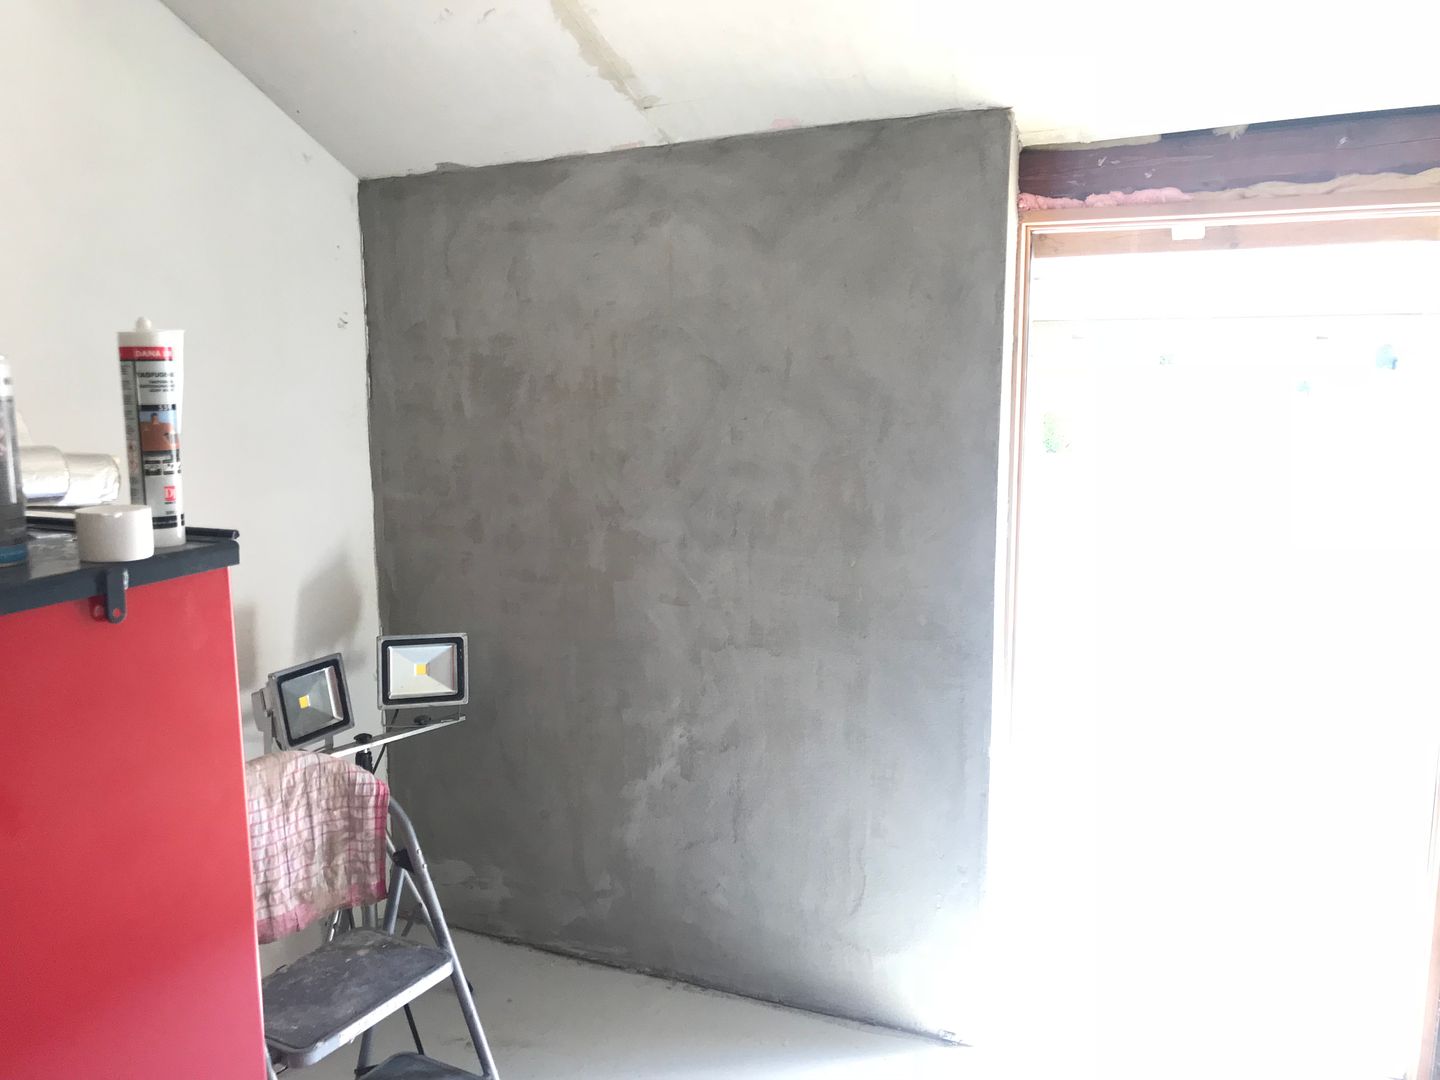
Jeg isolerede alle vægge med minimum 95mm rockwool el. glasuld.
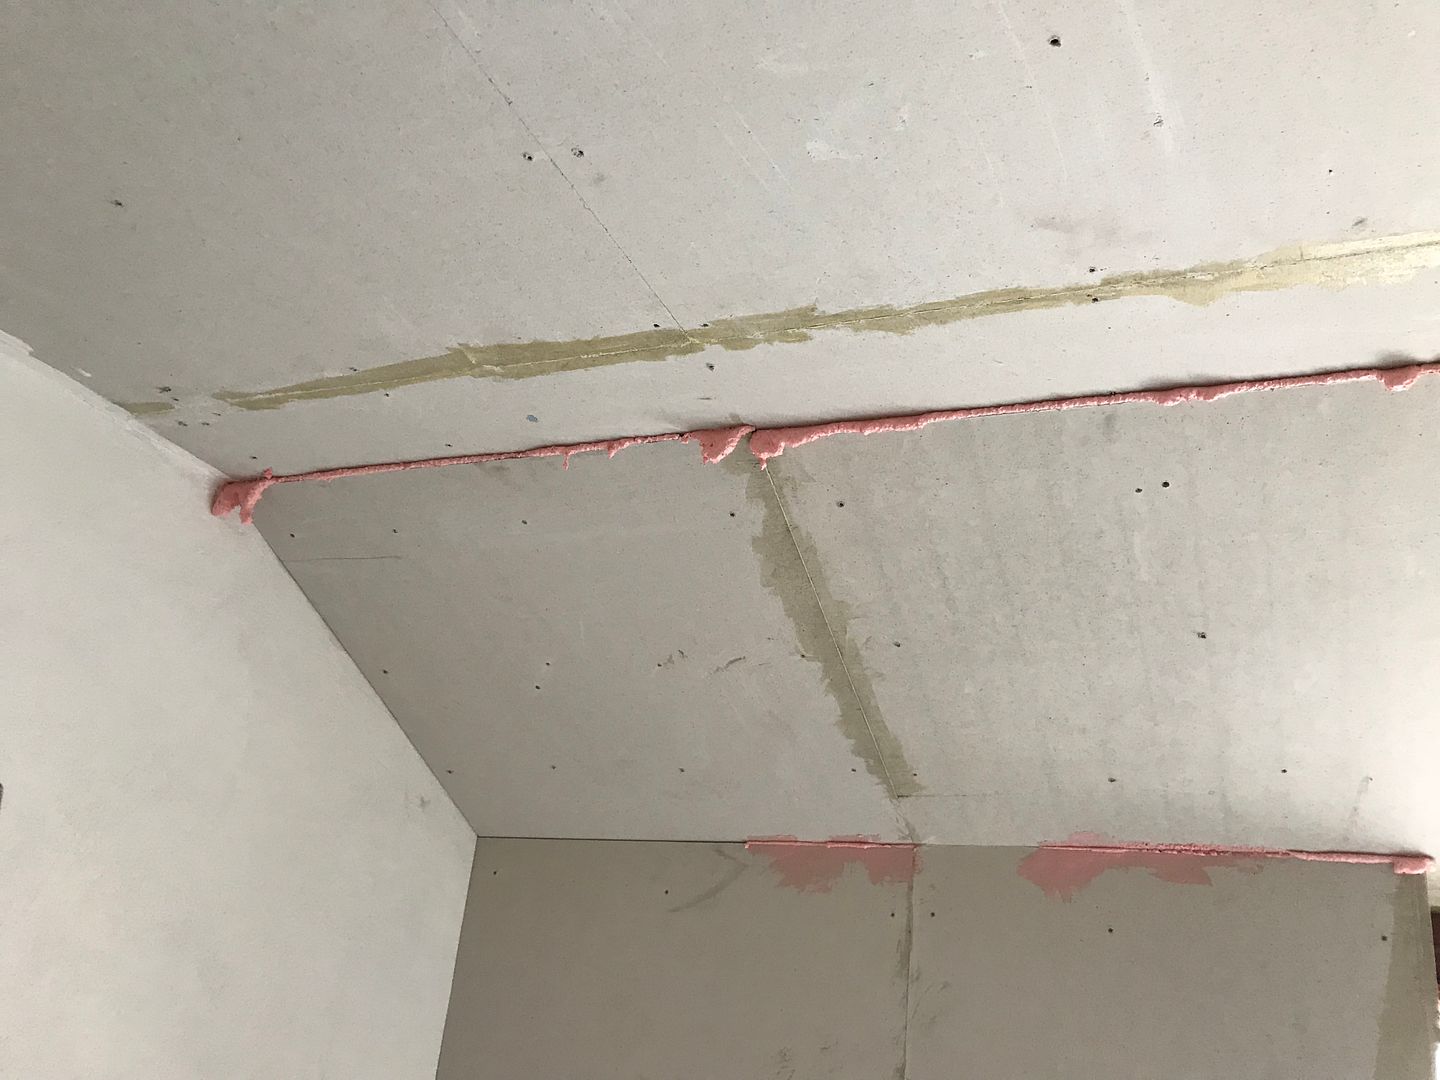
Pladerne der er blevet brugt, er 15mm fermacell med retkant.
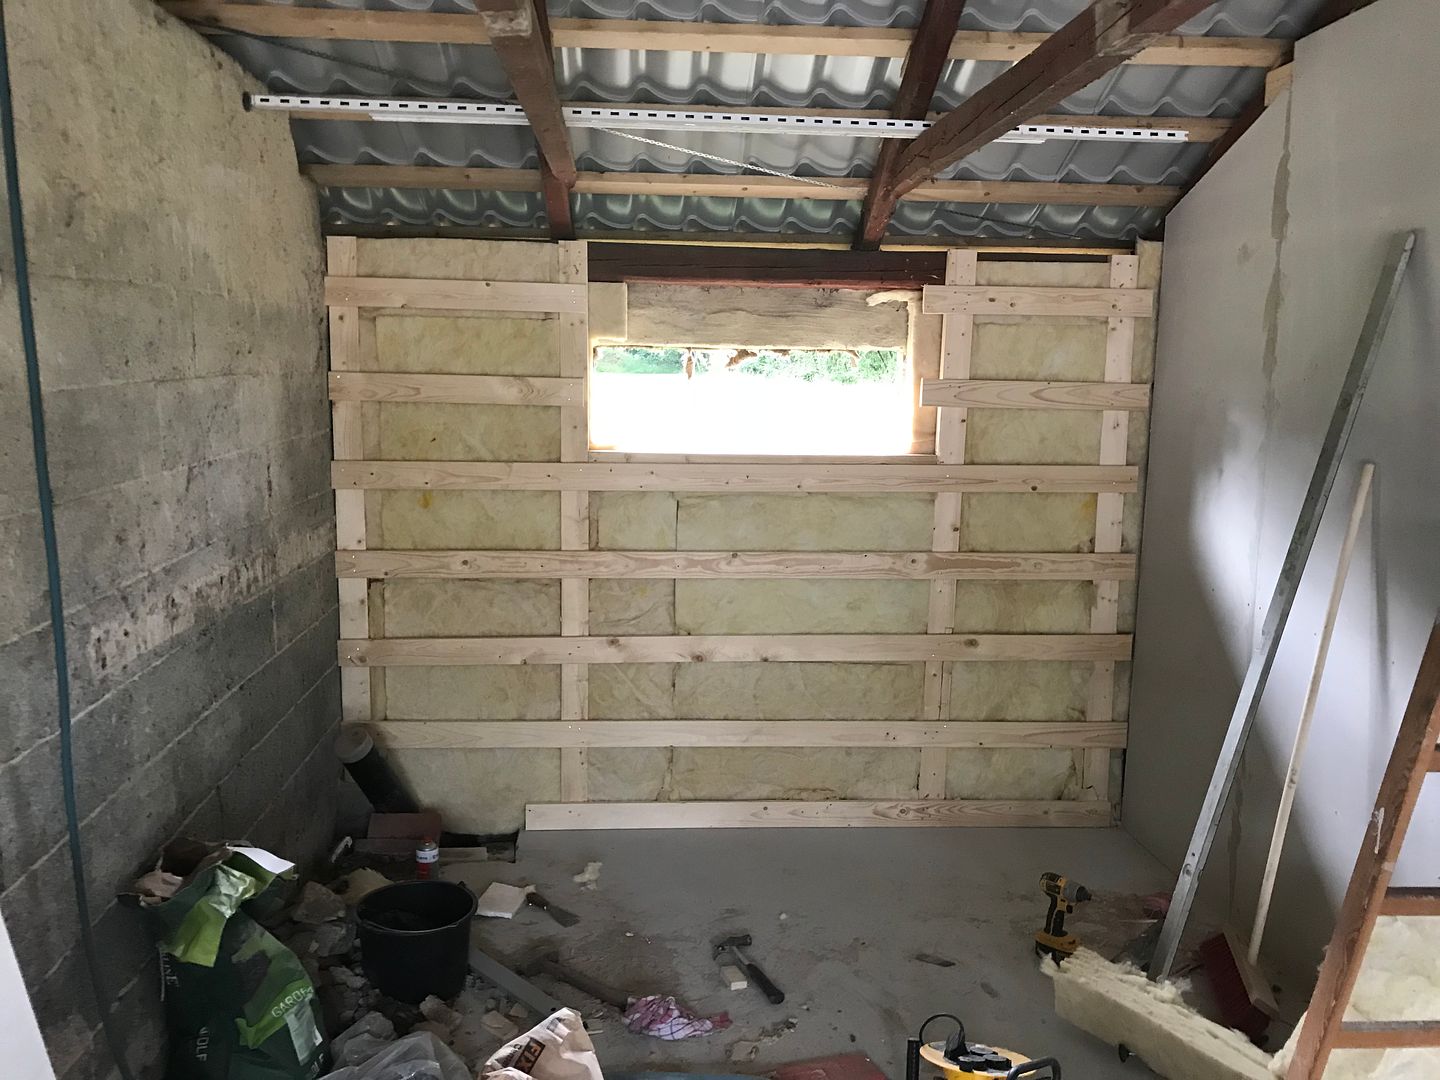
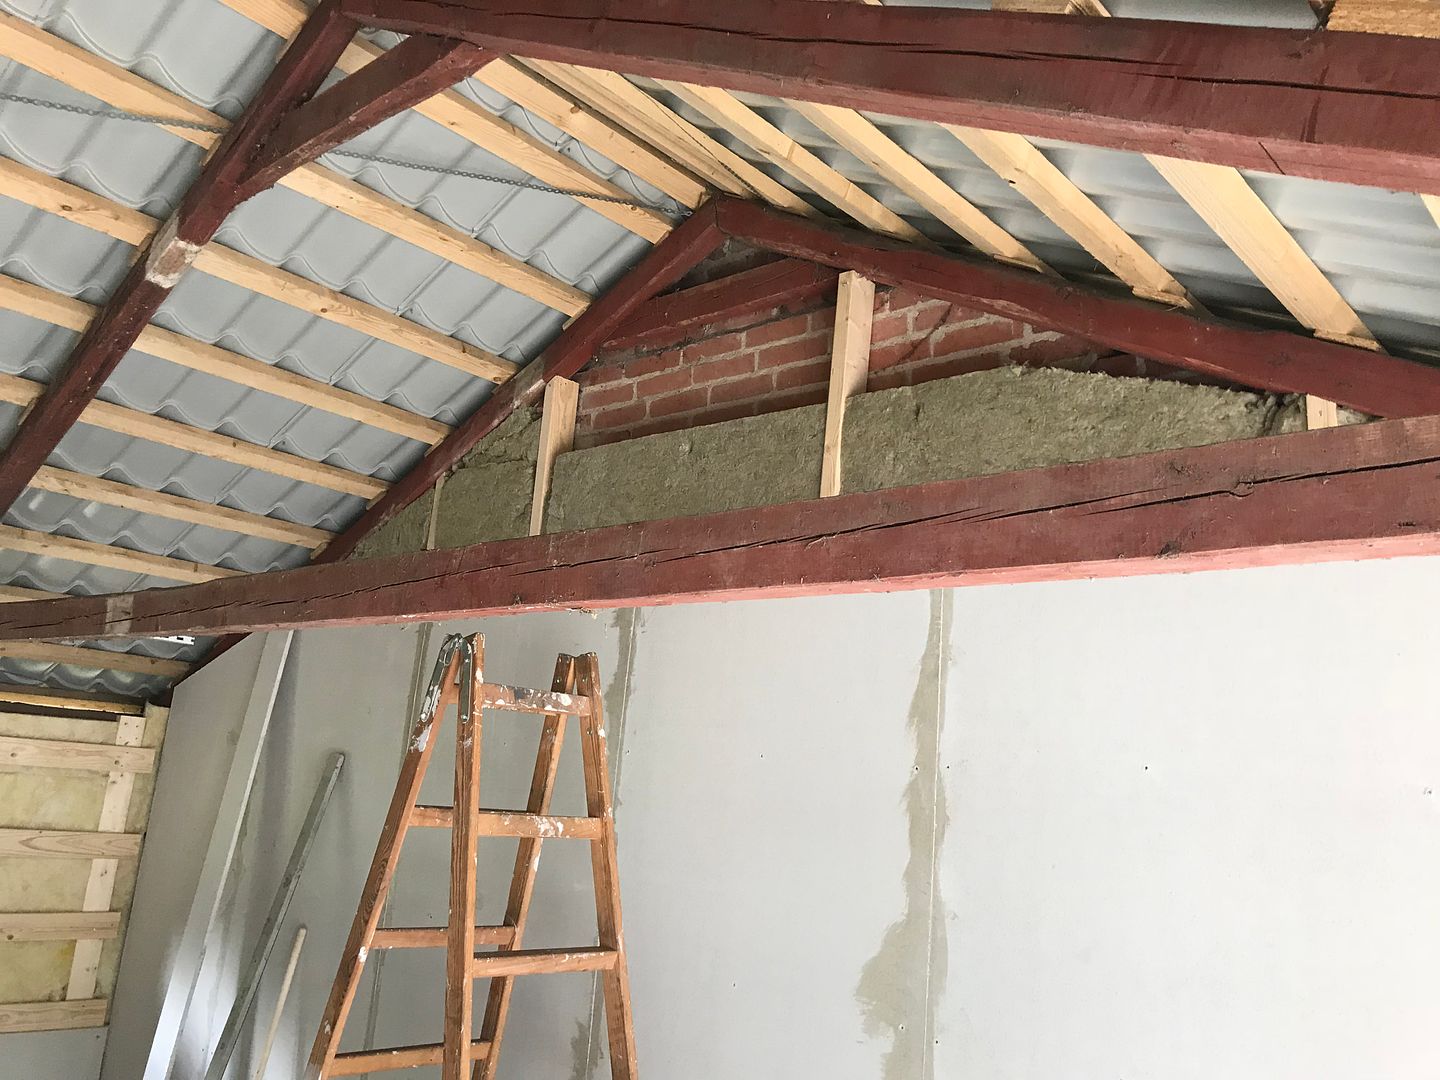
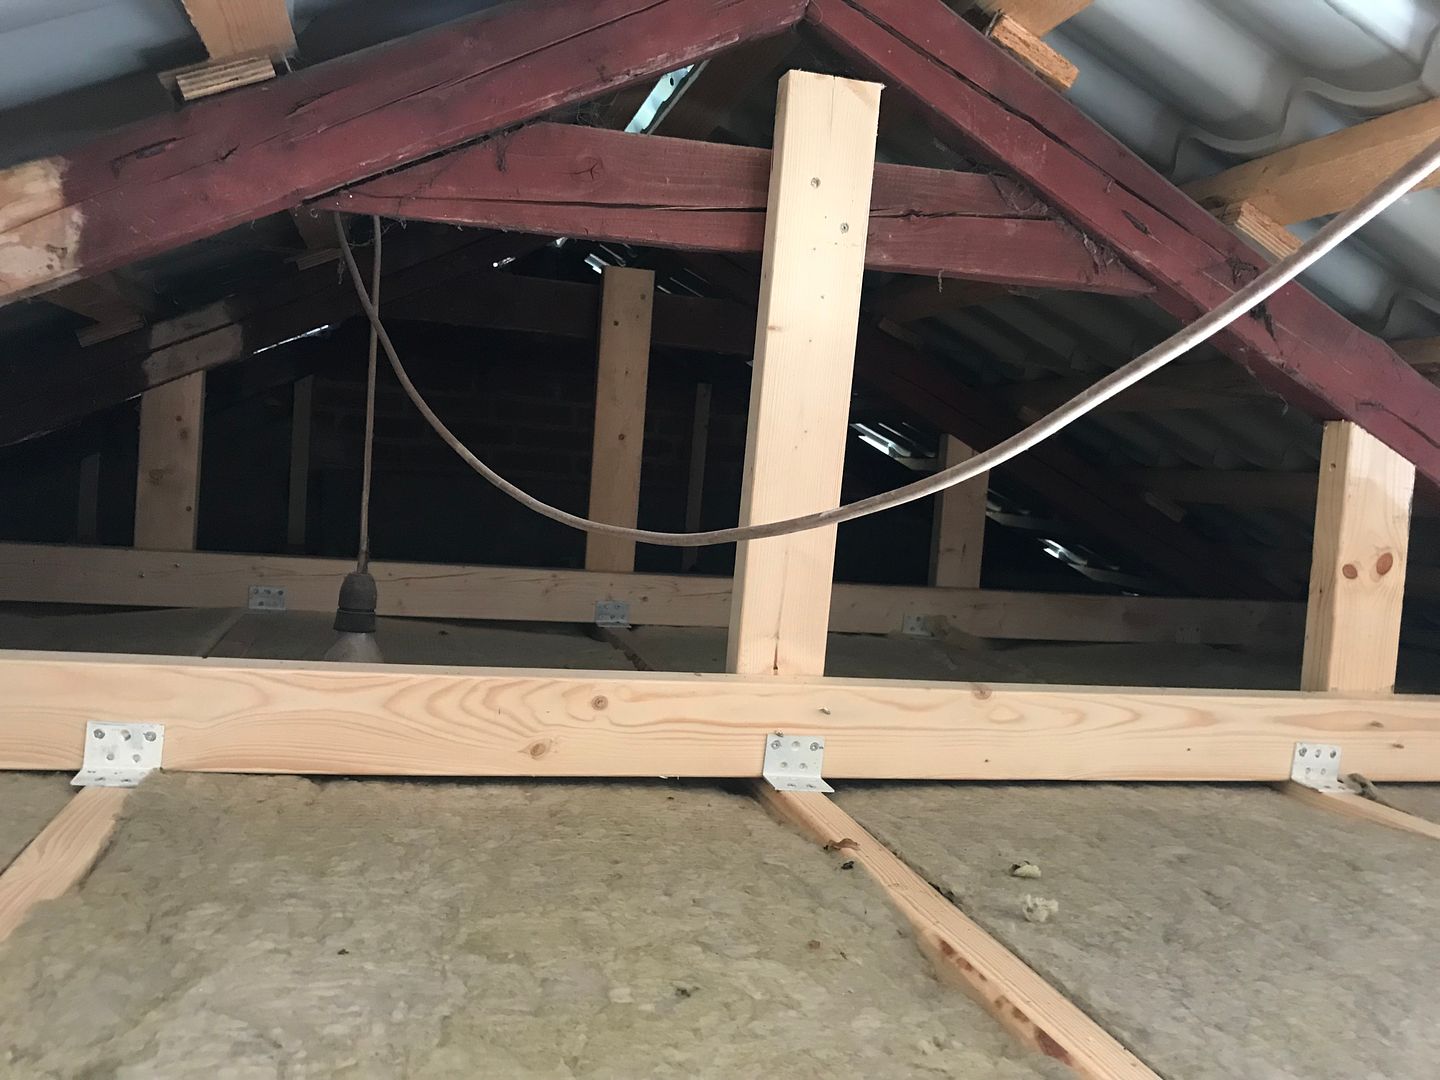
Spærene blev hævet 40cm, for at have lofthøjde nok til at stokerens låger kunne åbne.
Mon ikke dette nok skal holde?
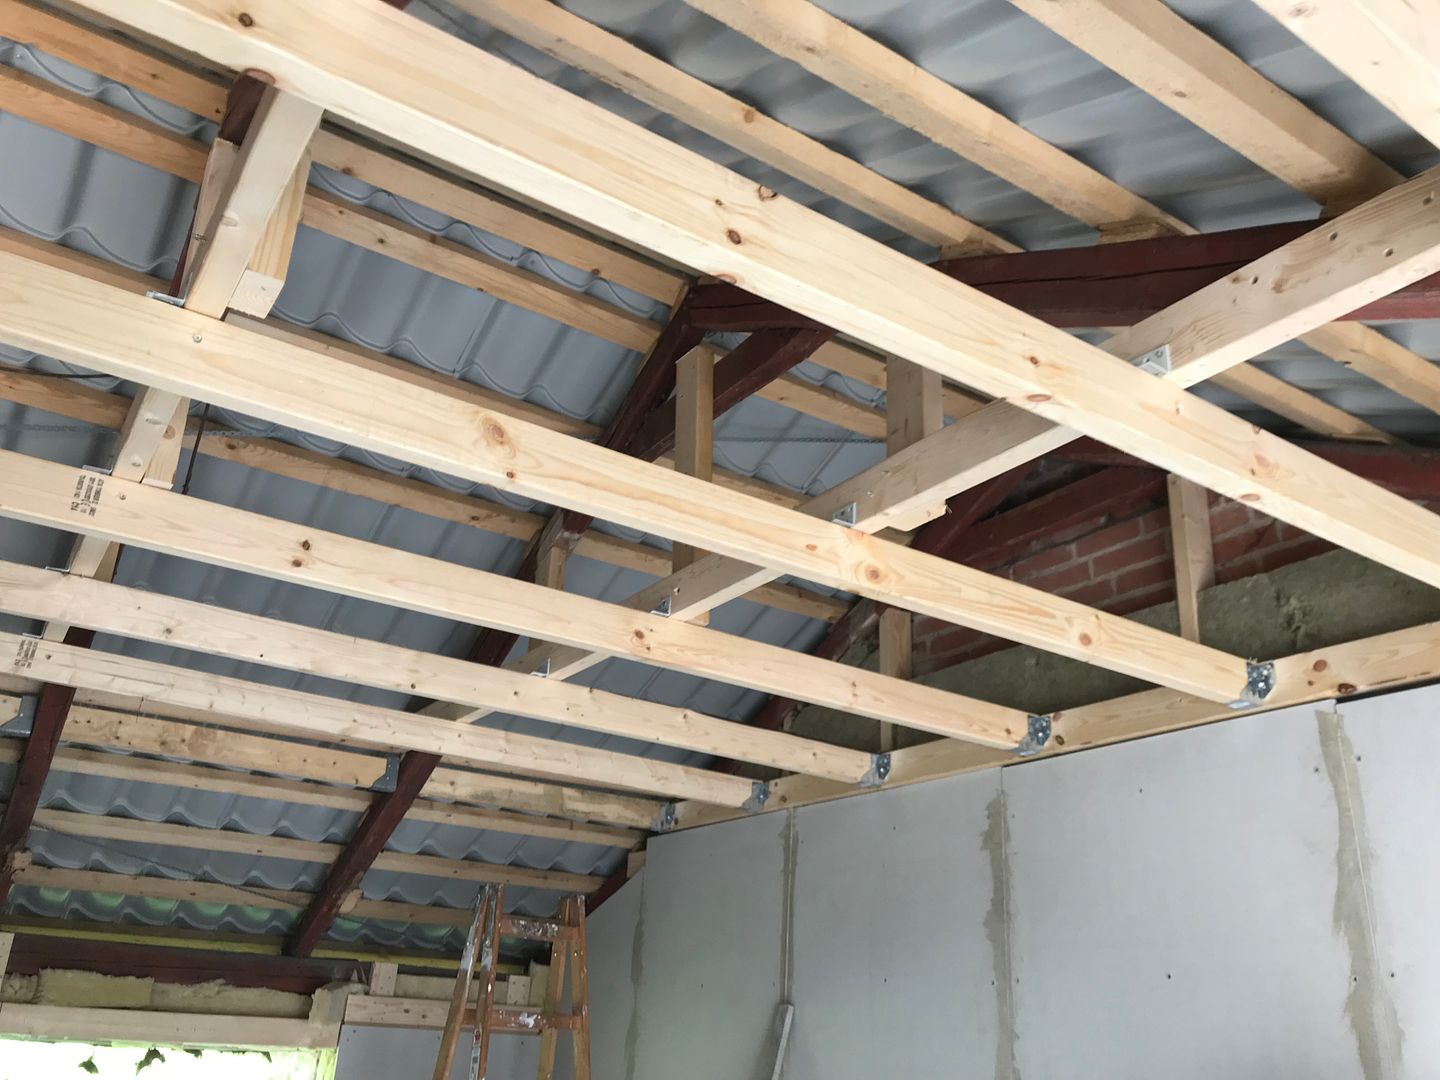
200mm isolering i loft. Havde købt for meget, så det blev ekstra isoleret
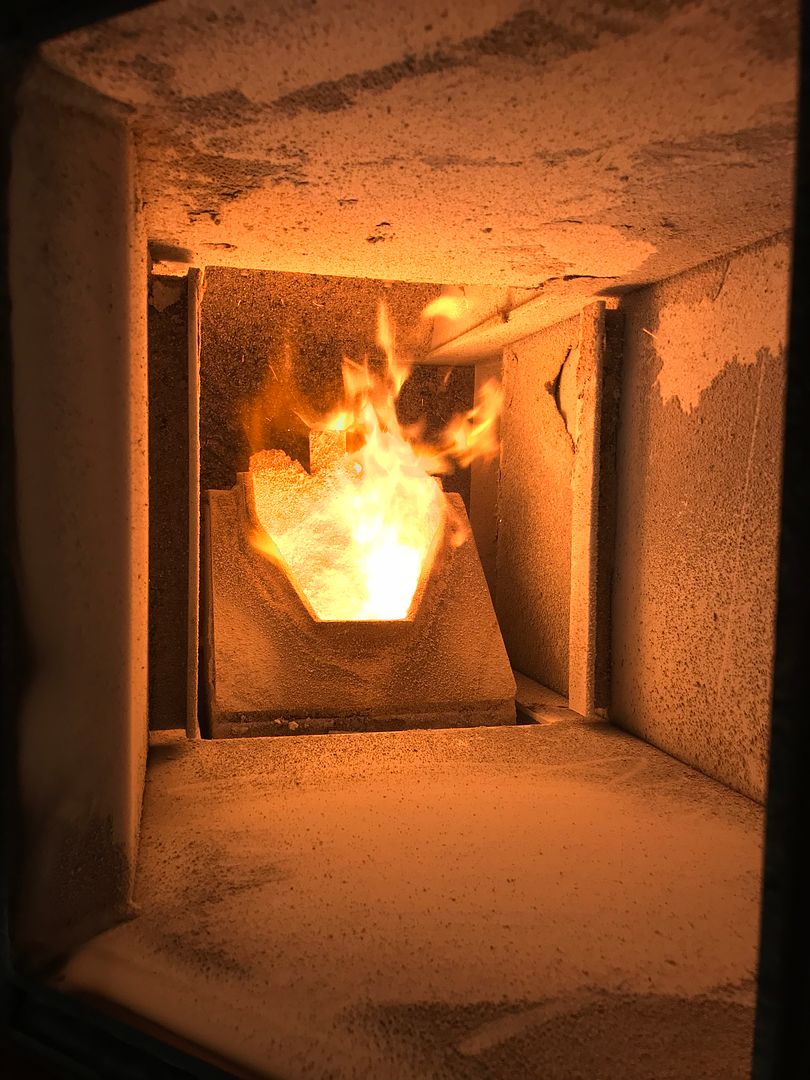
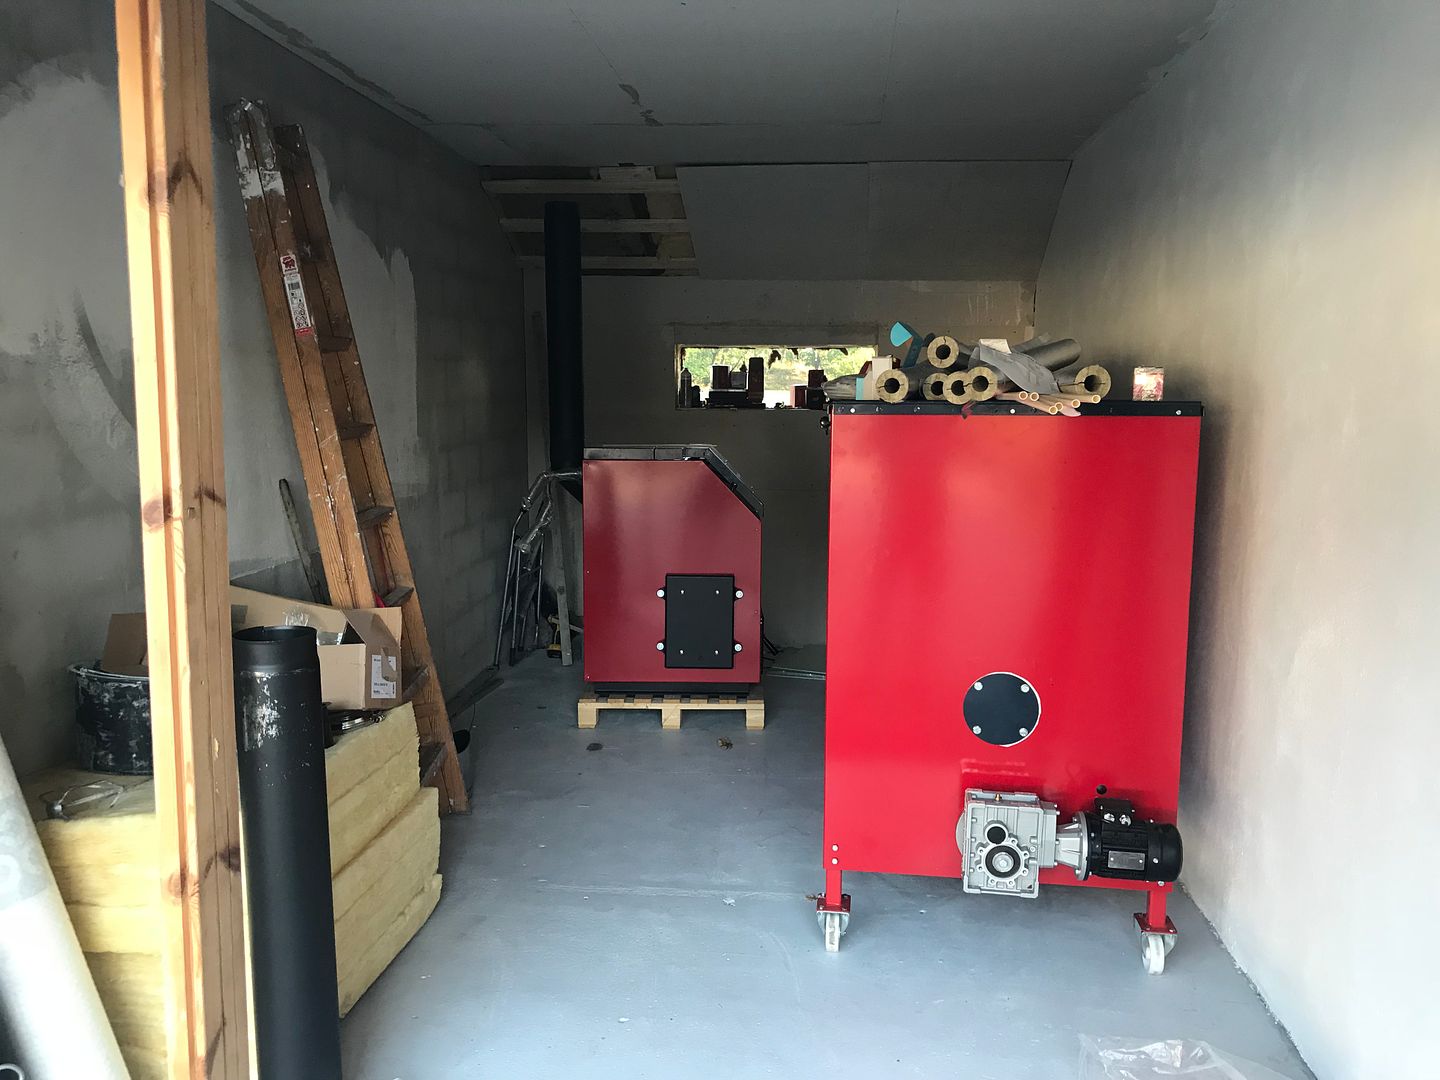
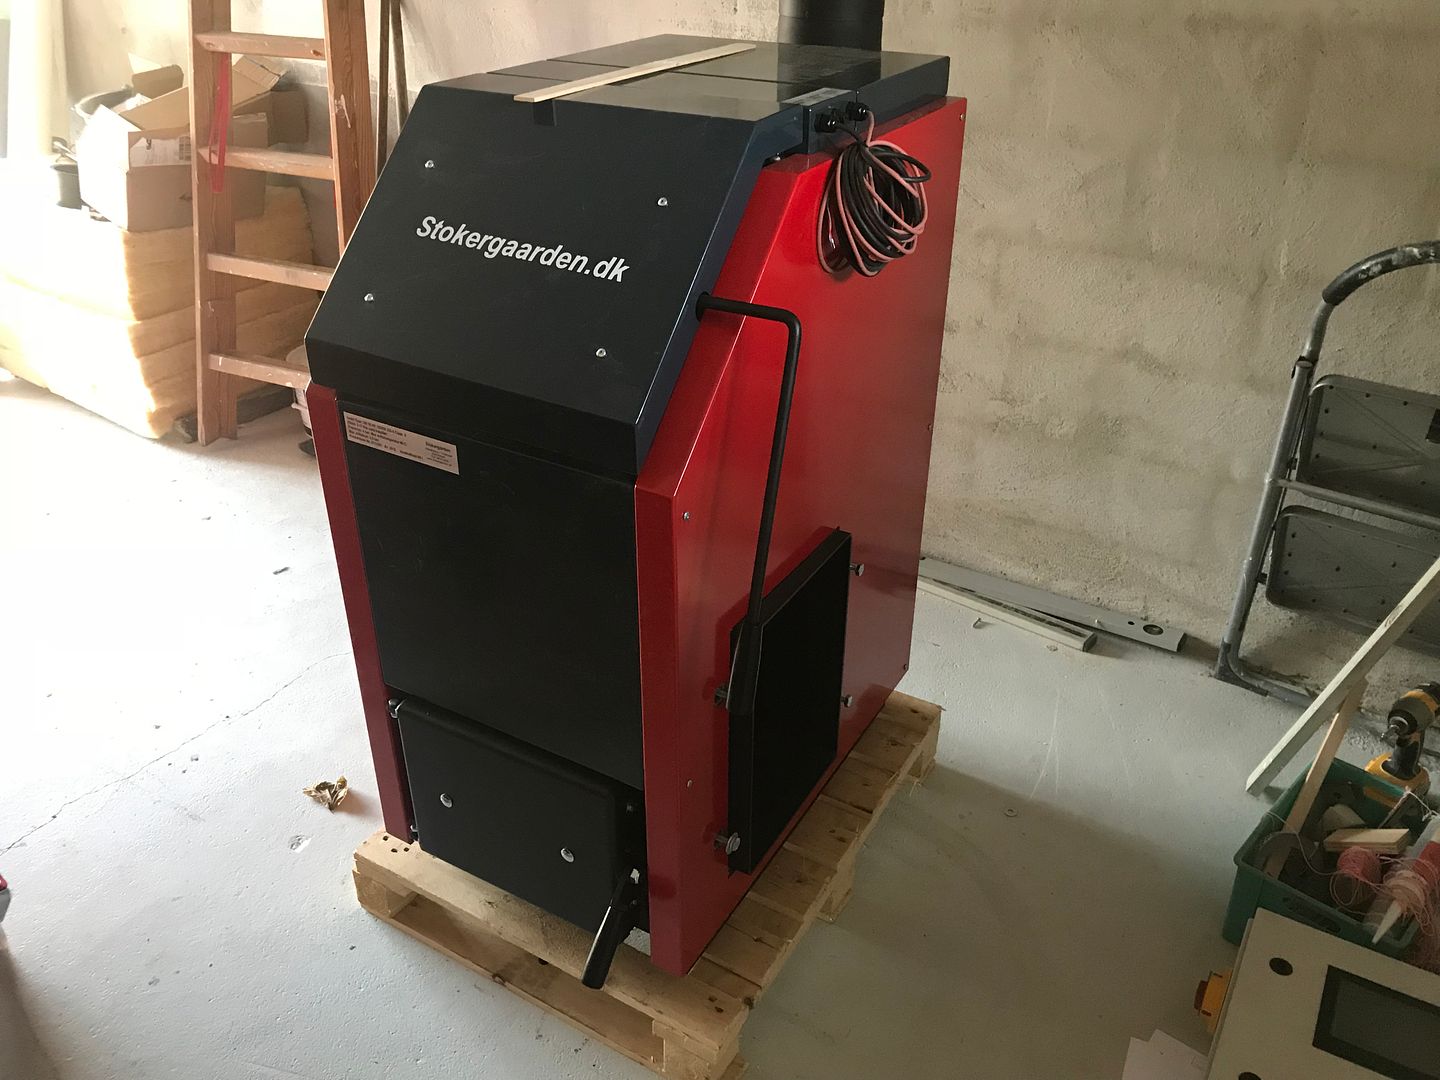
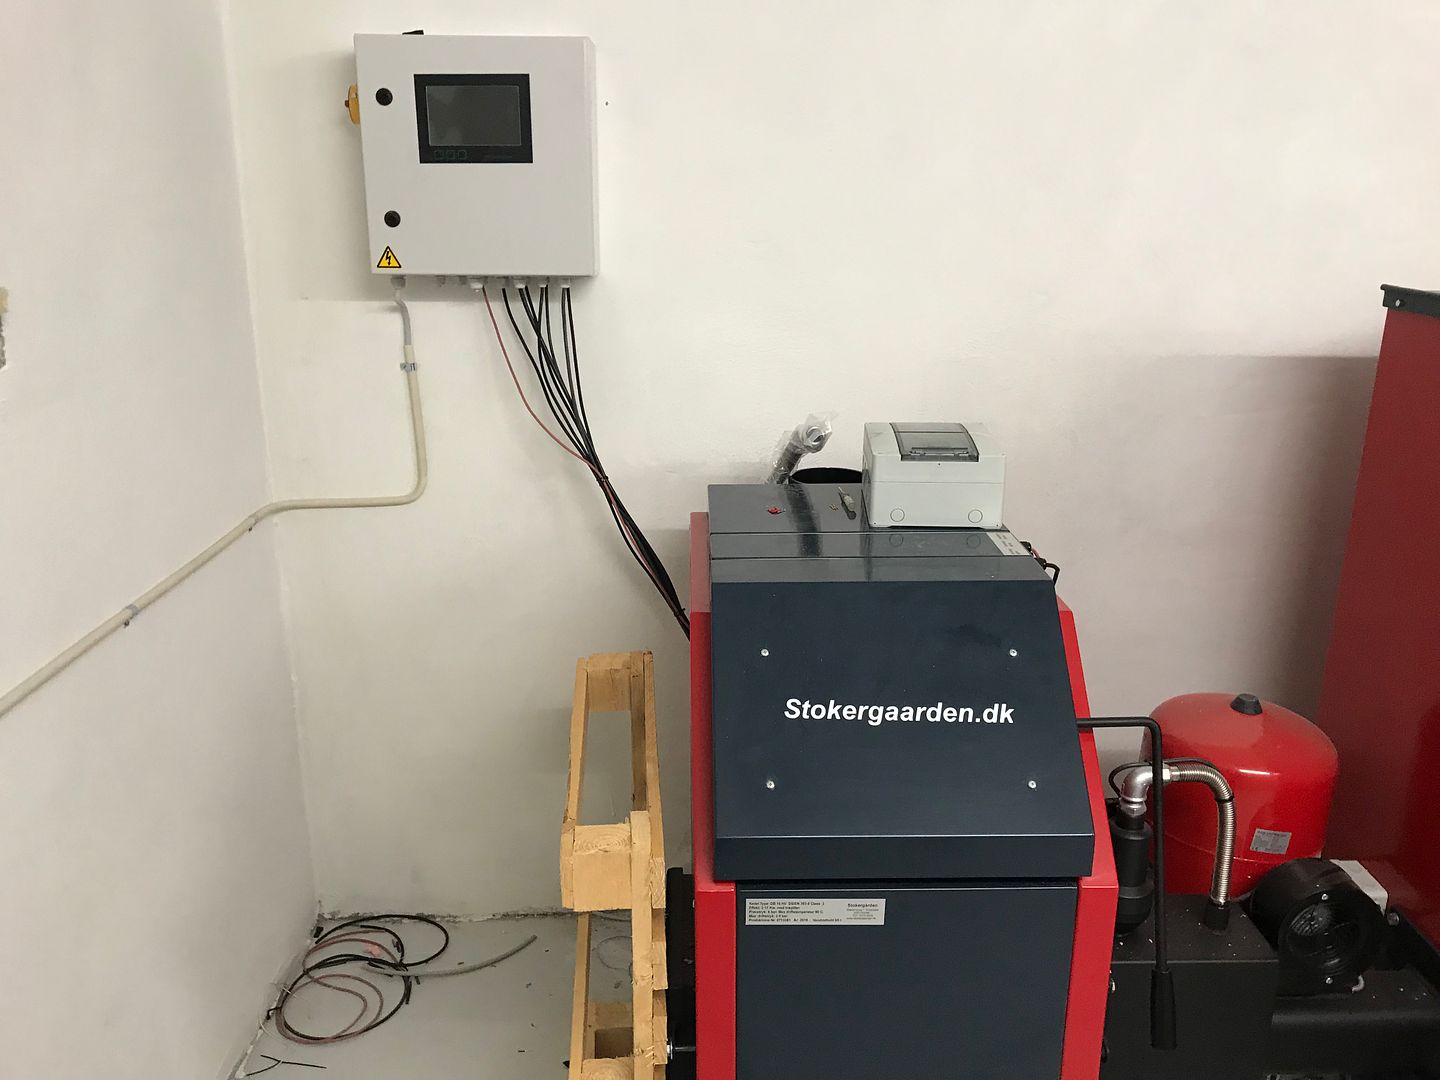
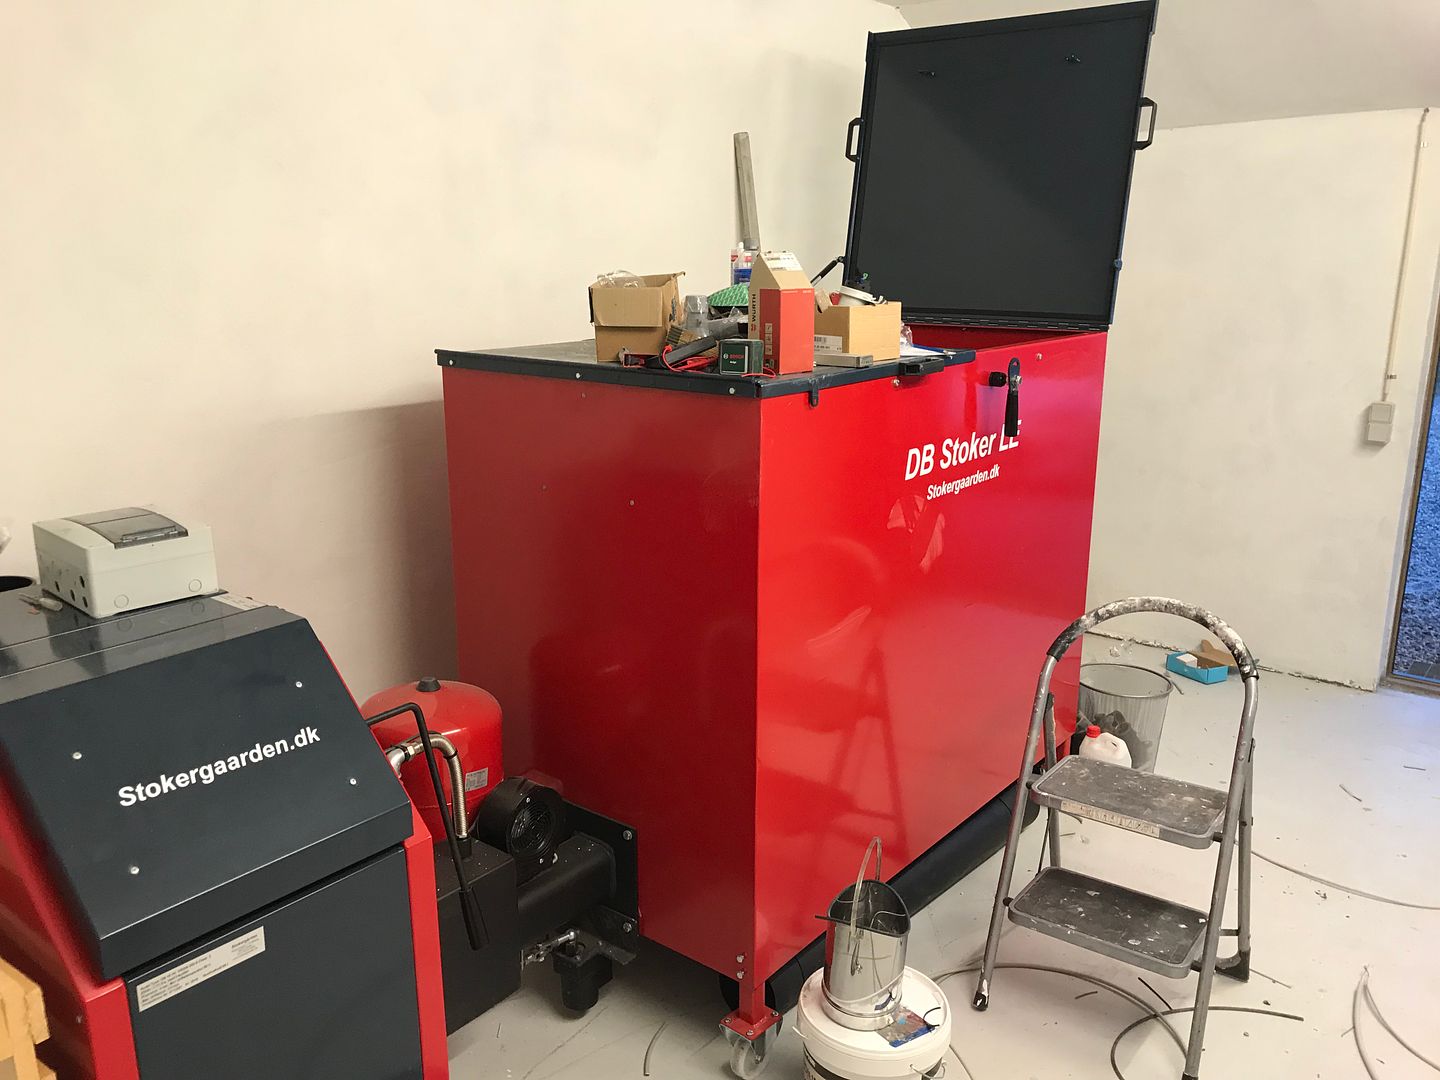
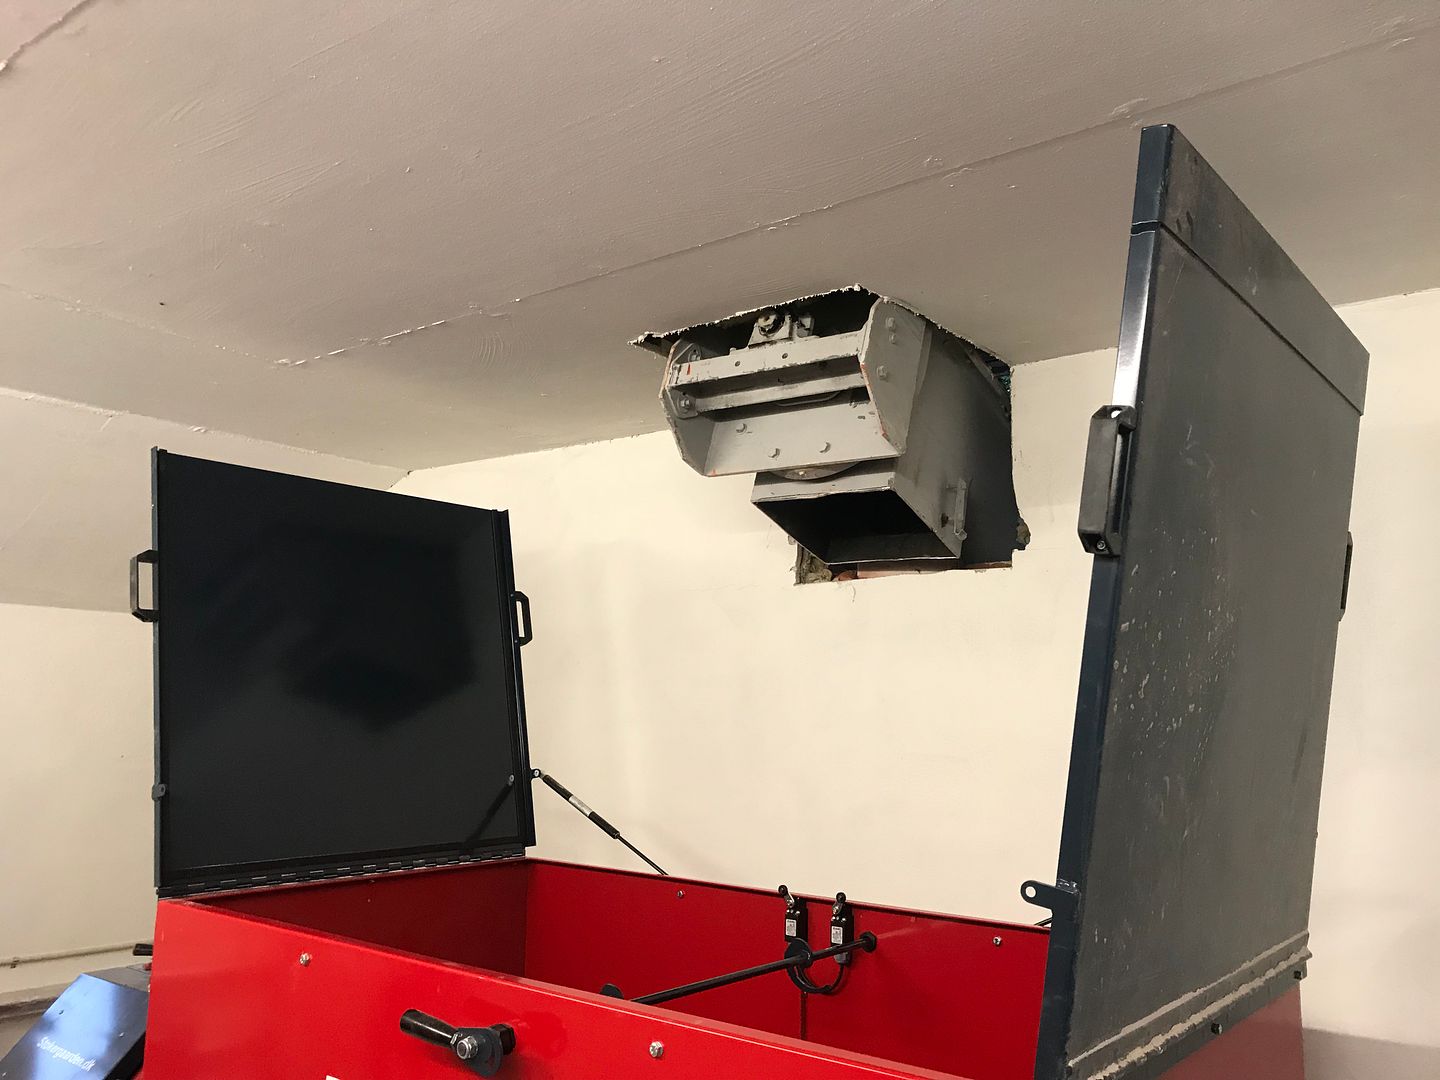
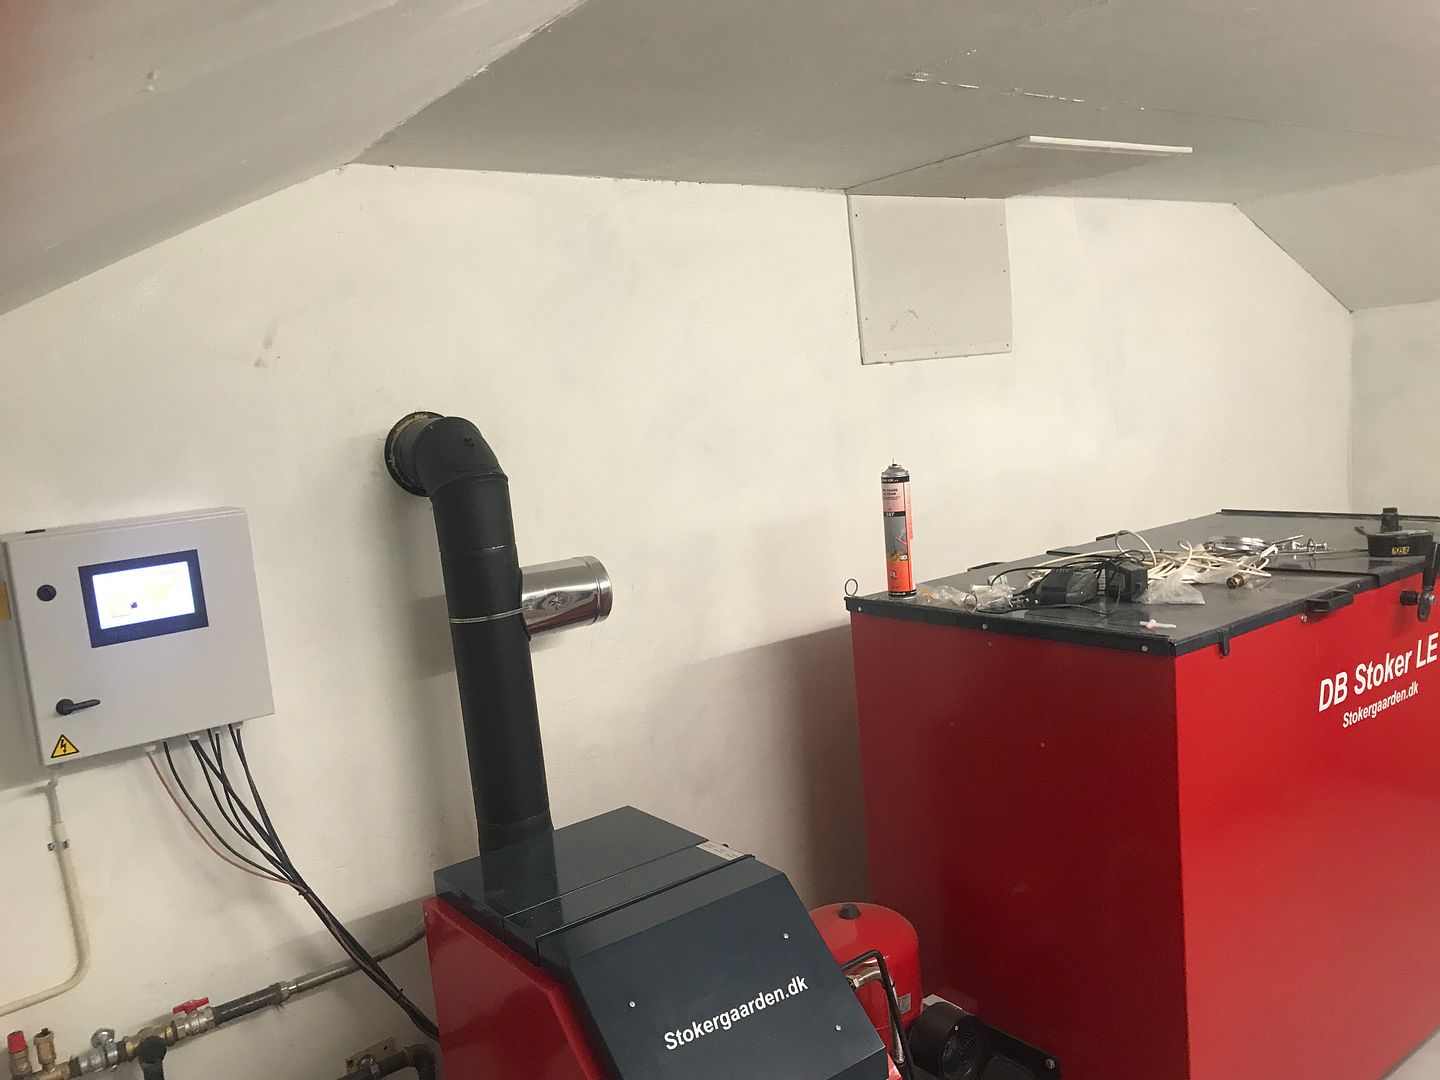
Wupti. Så kom der et stk Stoker anlæg fra Stokergården. Valgte den brormand også havde, dog med større tank.
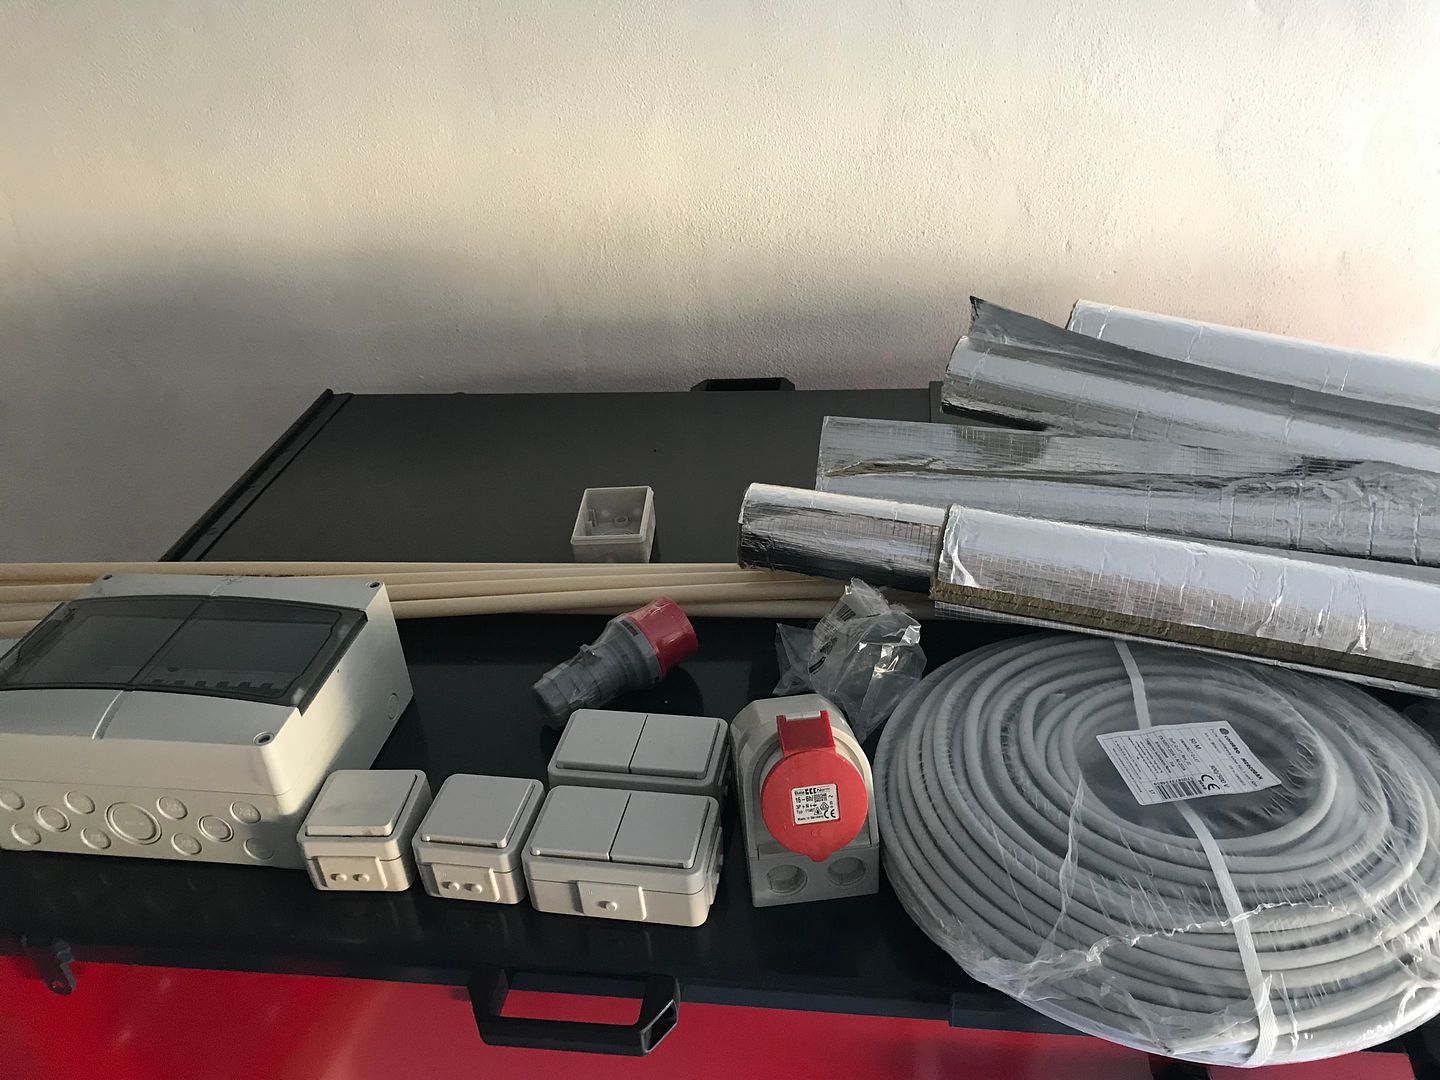
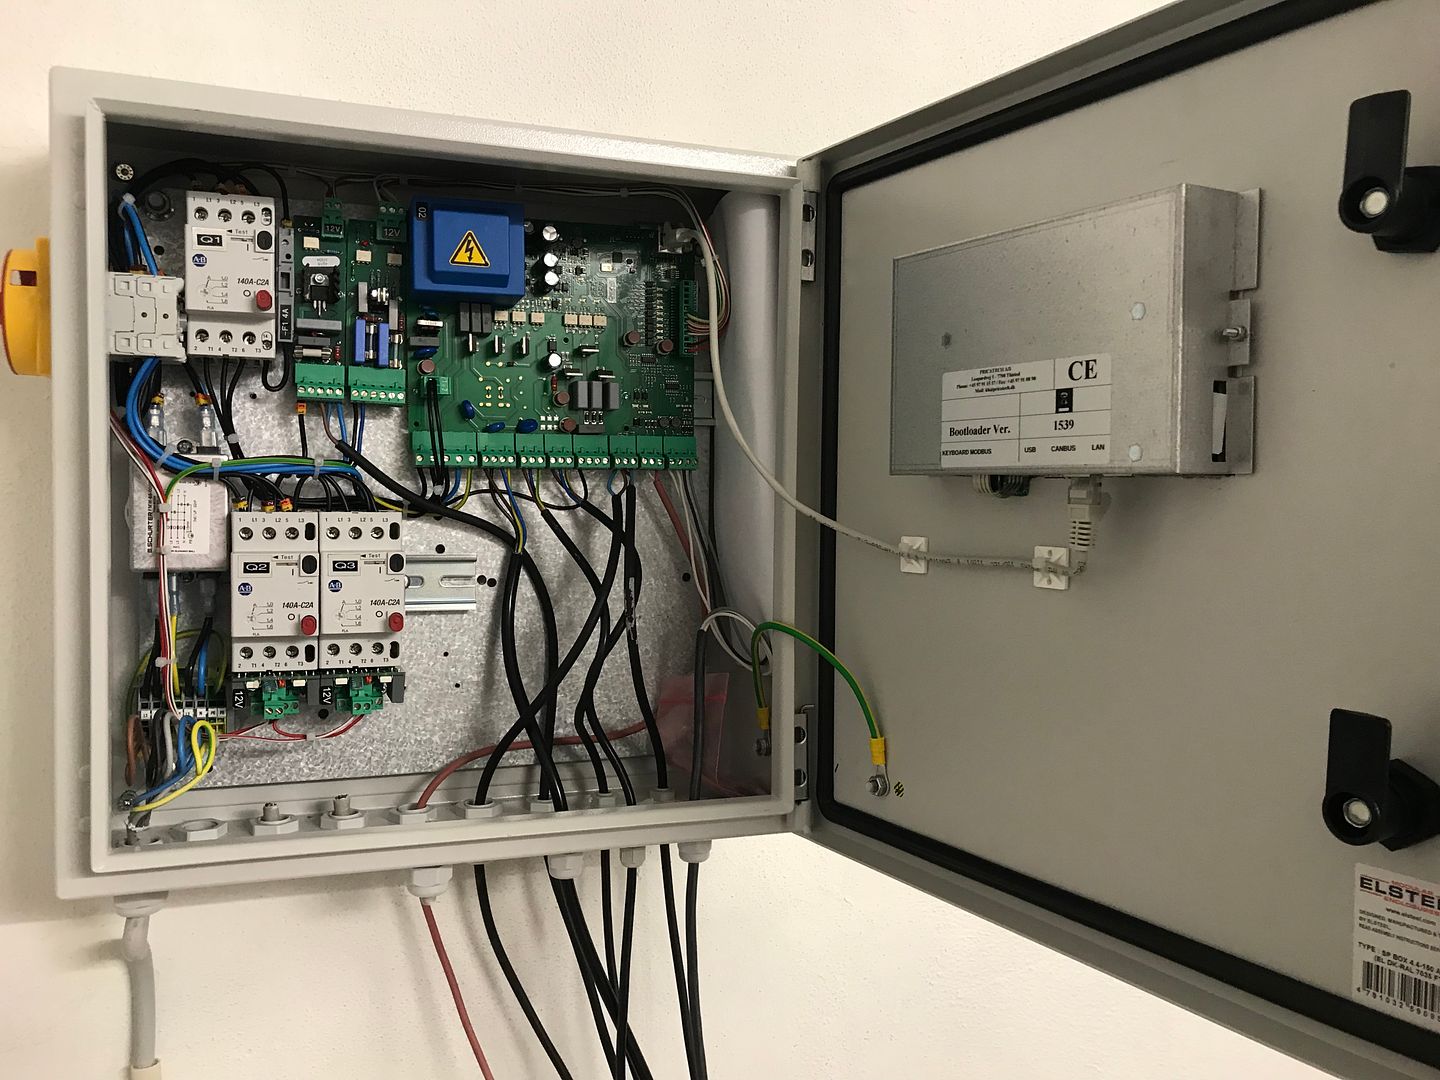
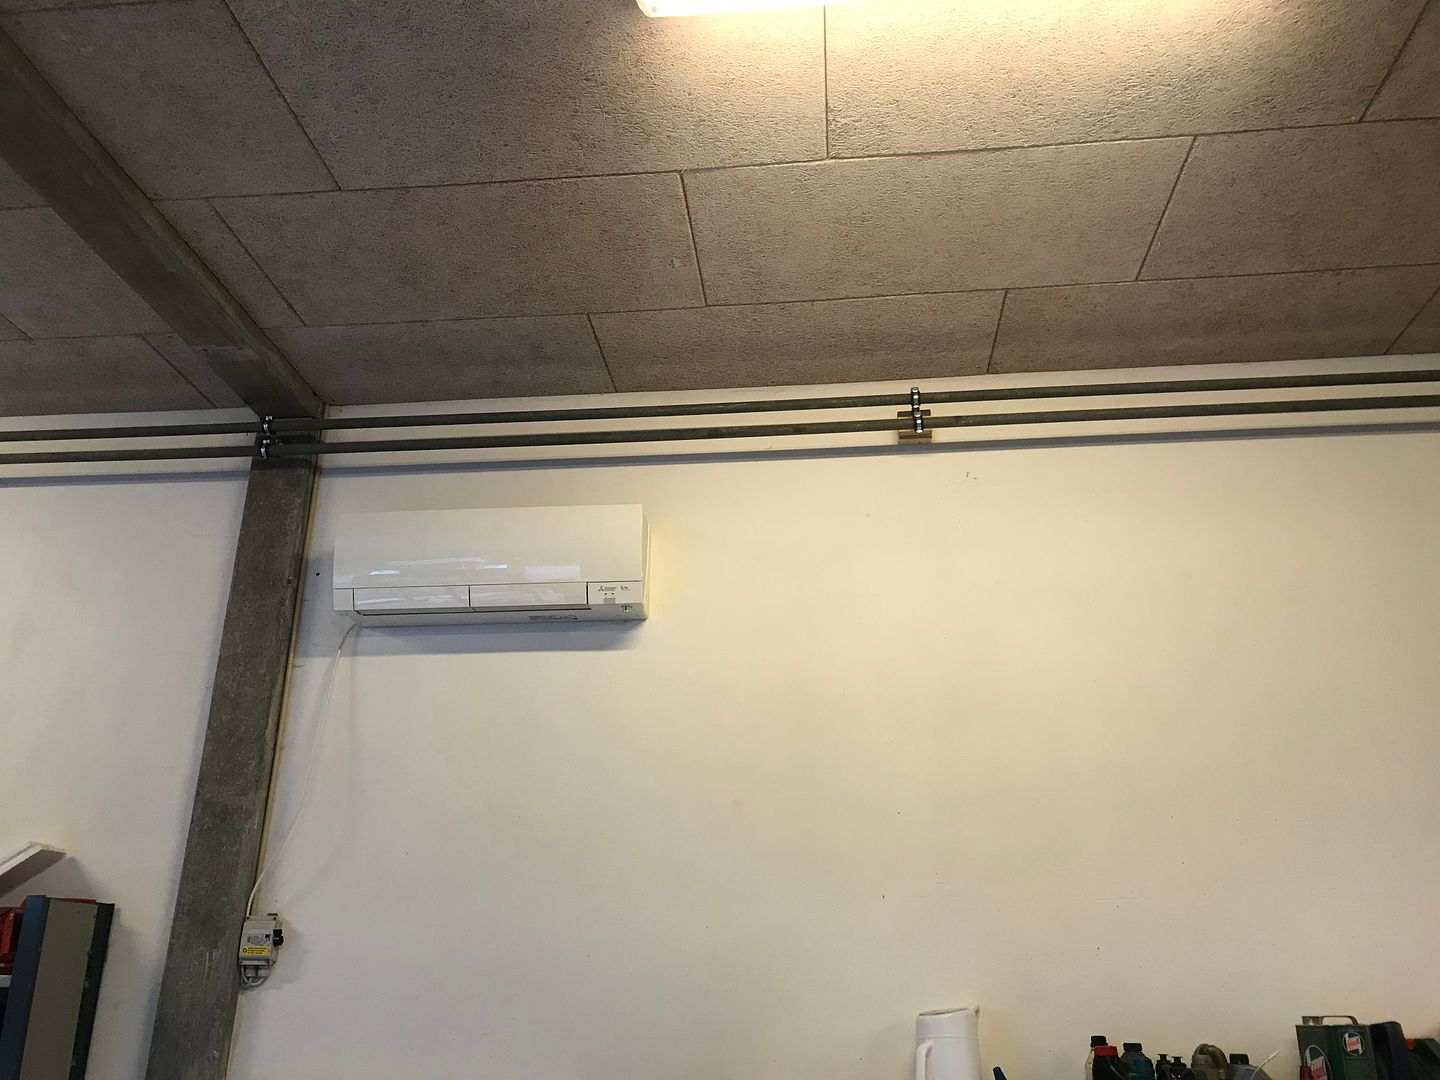
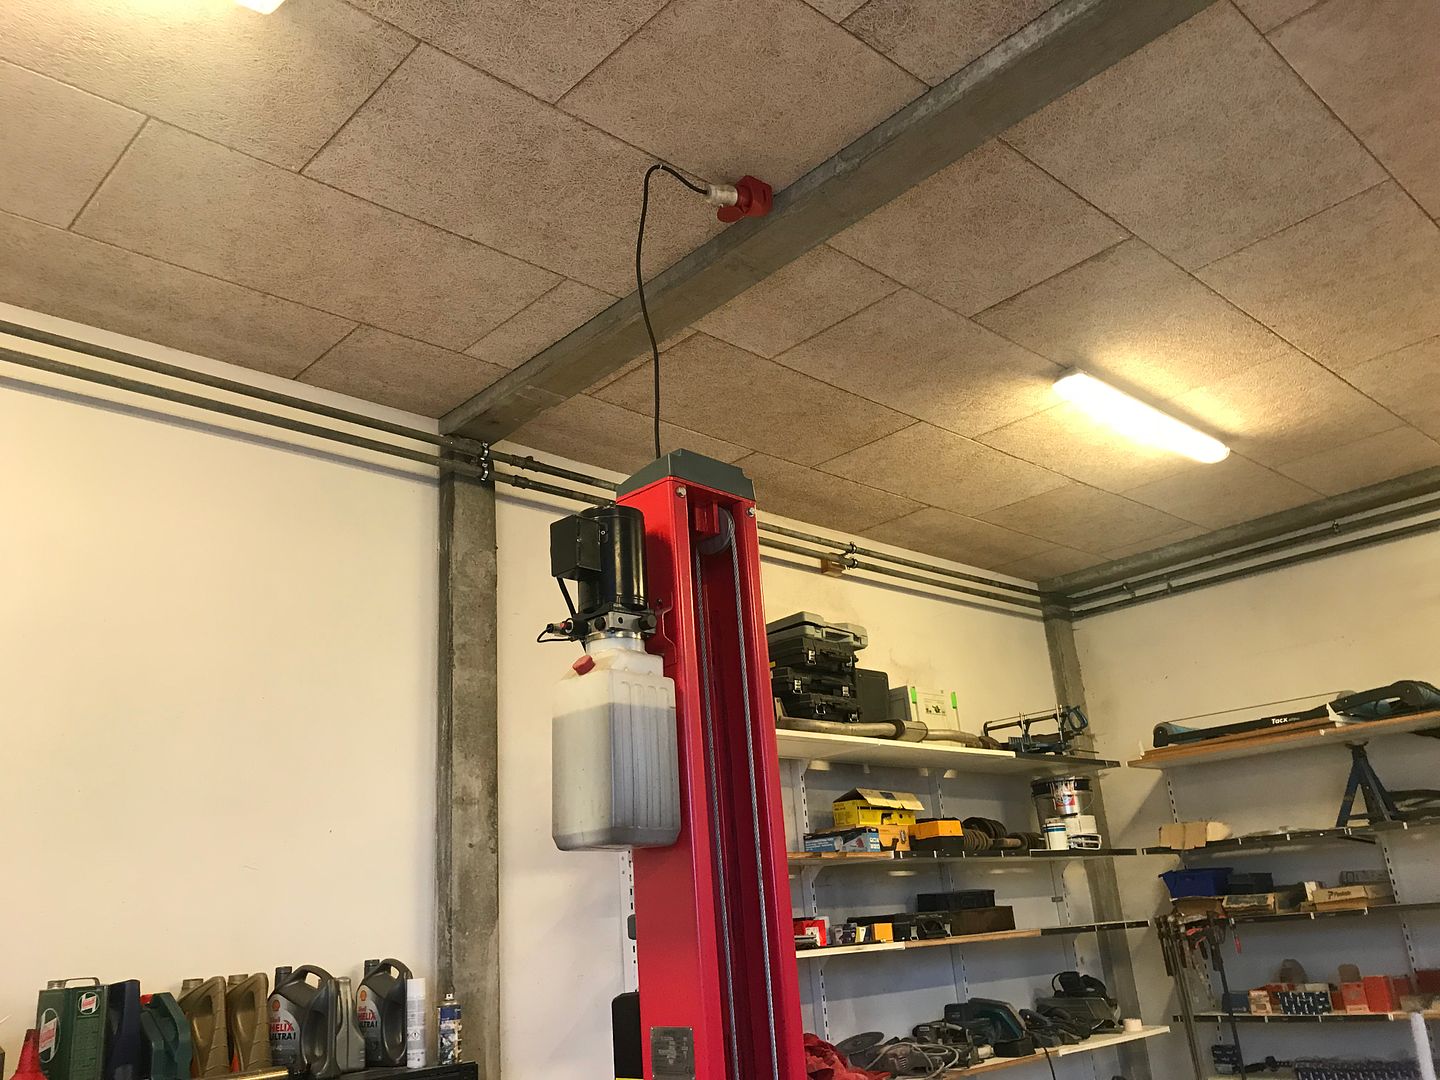
El-installations matriel
Dejligt at isolere i omtrent 25-28gr varme. Dejlig sommer vi havde i 2018
Taget lige før øl-pausen
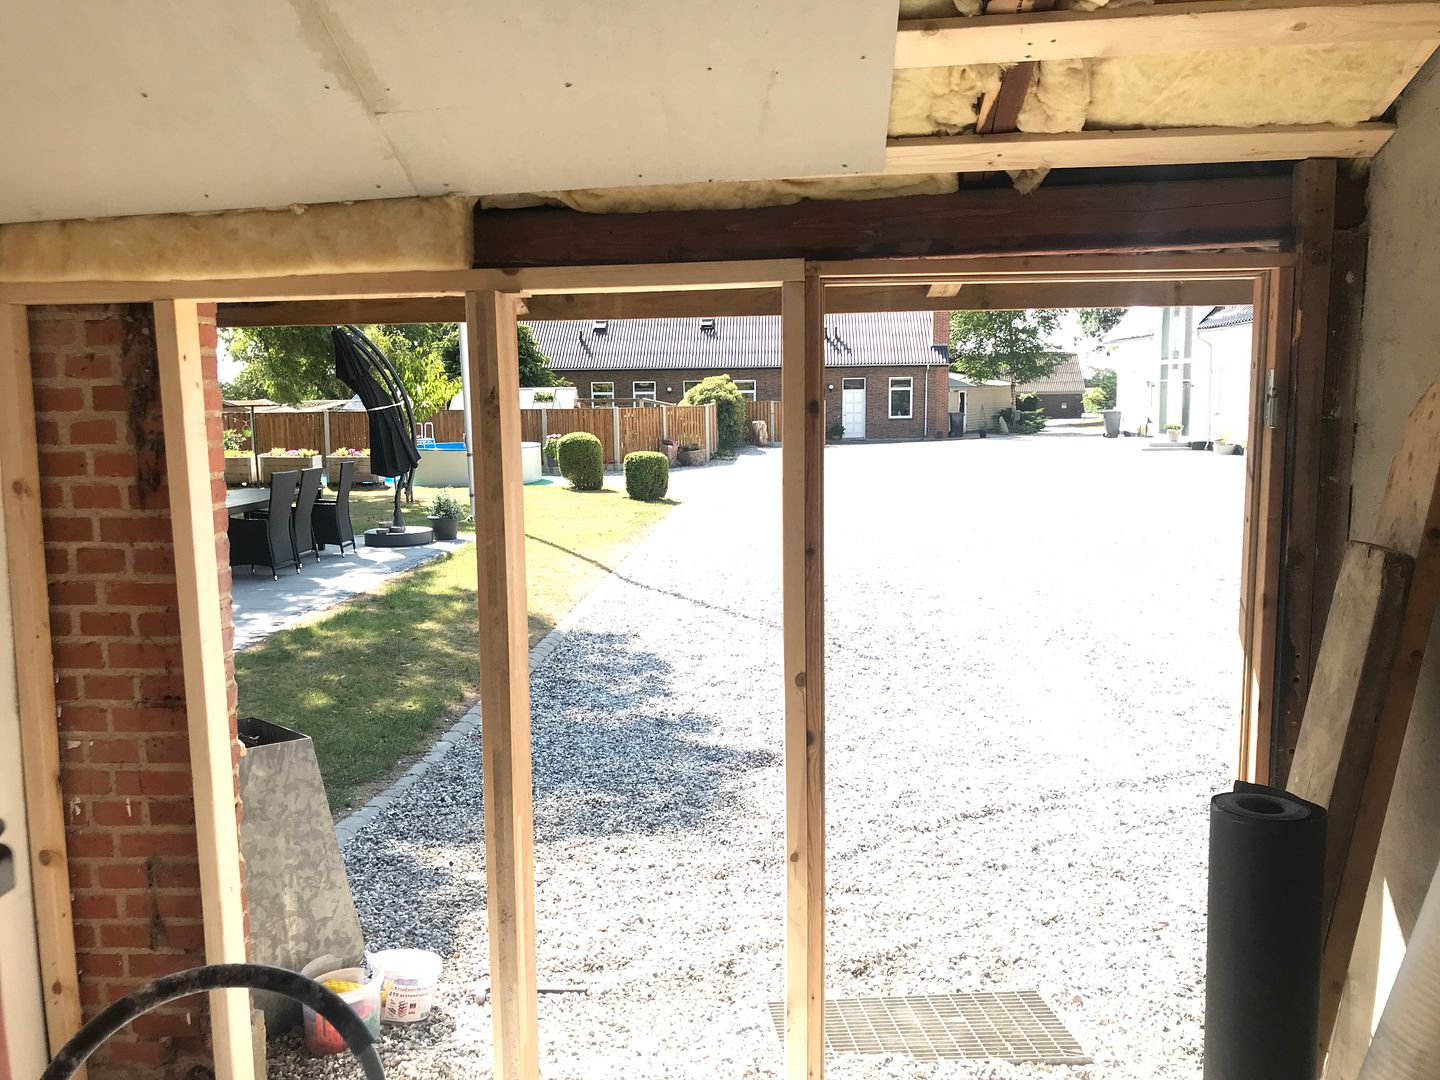
Overblikket. Der er her indnu ikke isat vindue. Grundet varmen uden for. Det var nu bedst med gennemtræk tænkte jeg. Dog var rummet køligere efter jeg fik vinduet i, og der ingen gennemtræk var.
Et smugkig på loftet efter isolering.
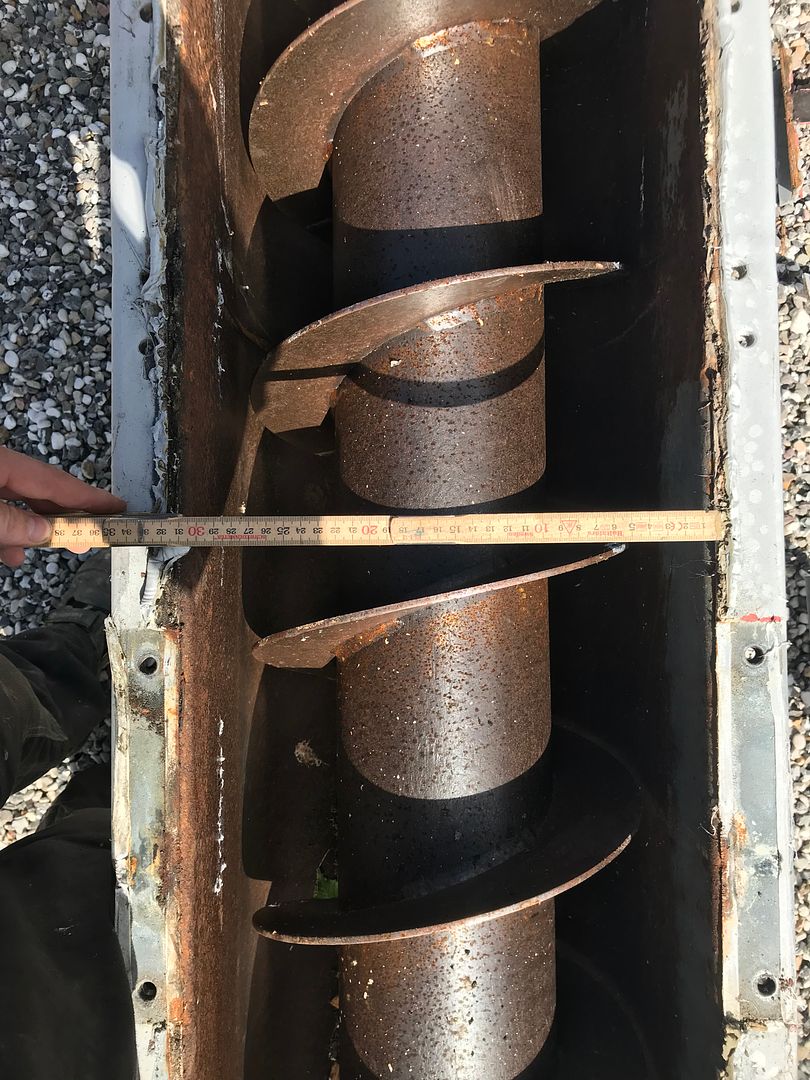
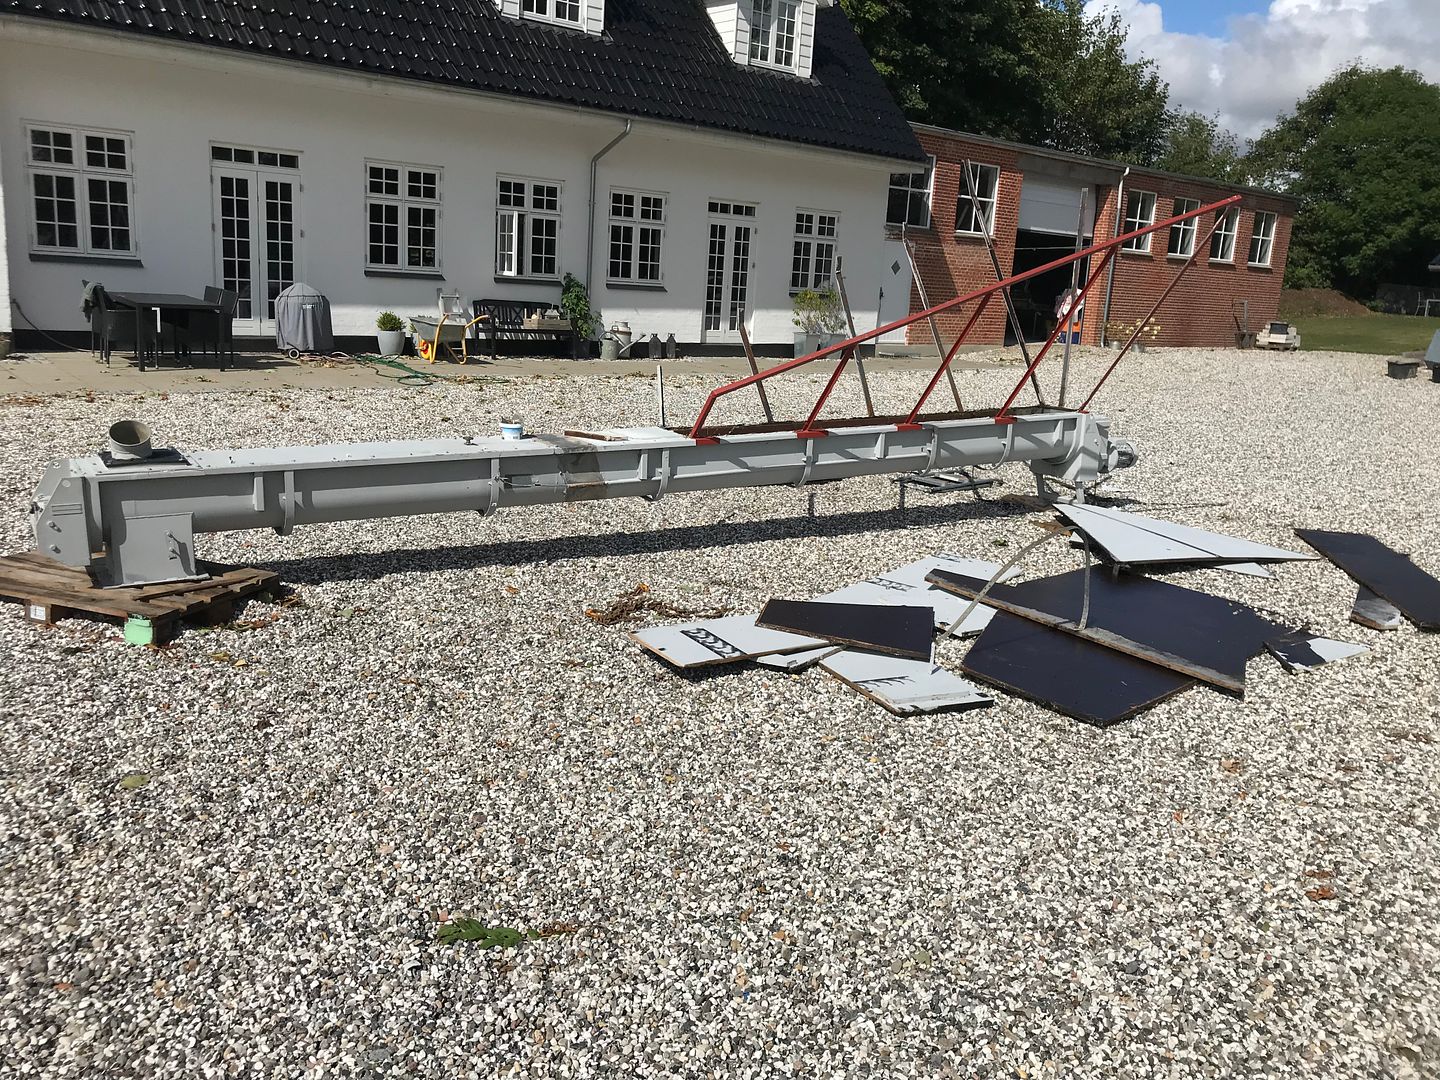
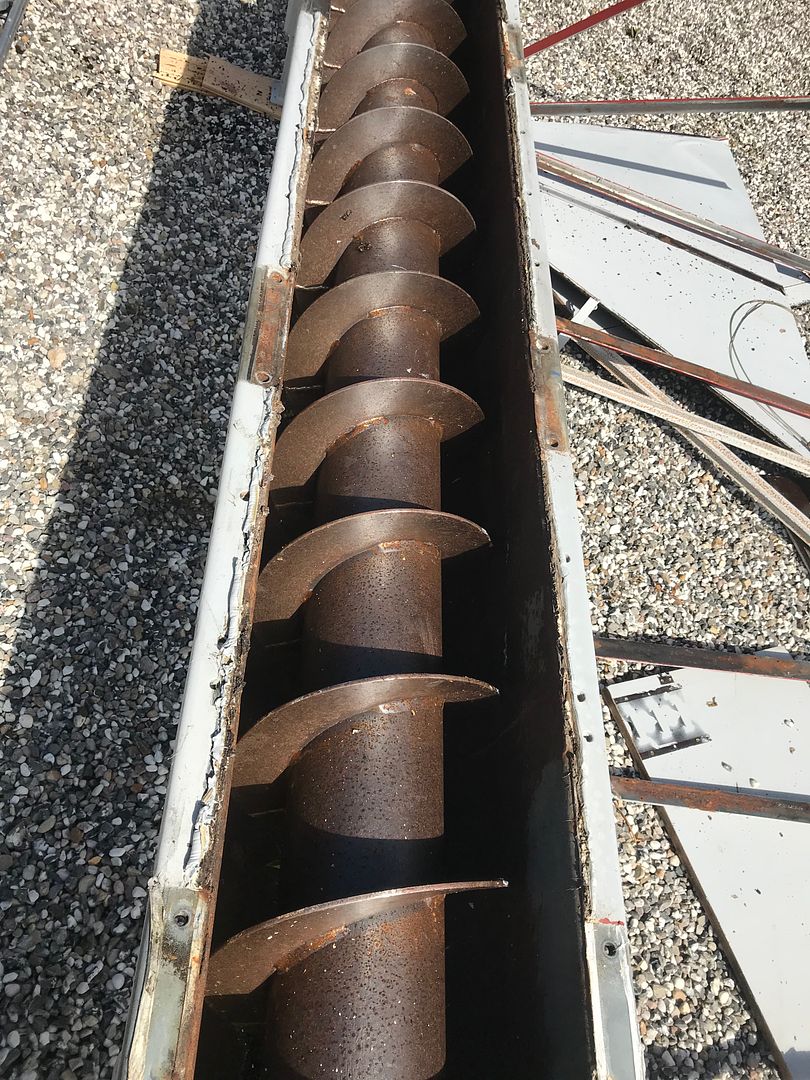
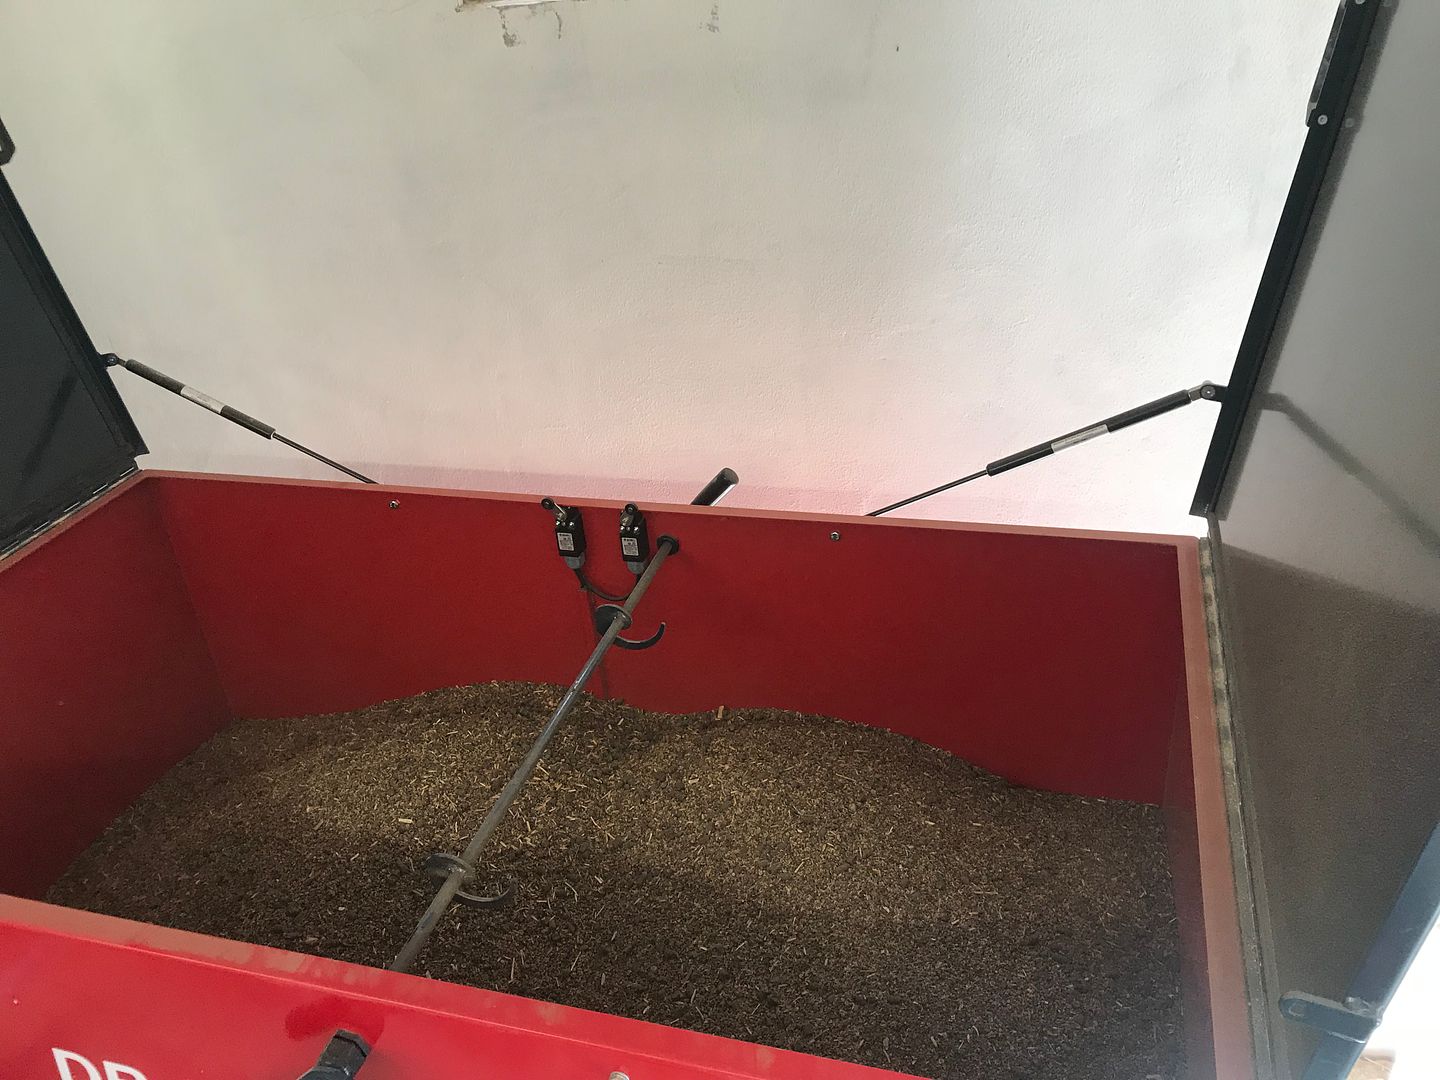
Hjem kom sneglen. Har store planer med denne.
Forventer den skal snegle flis automatisk op i tanken.
Hvordan? Det er endnu kun på papir.
Men først skal den jo lige ned.
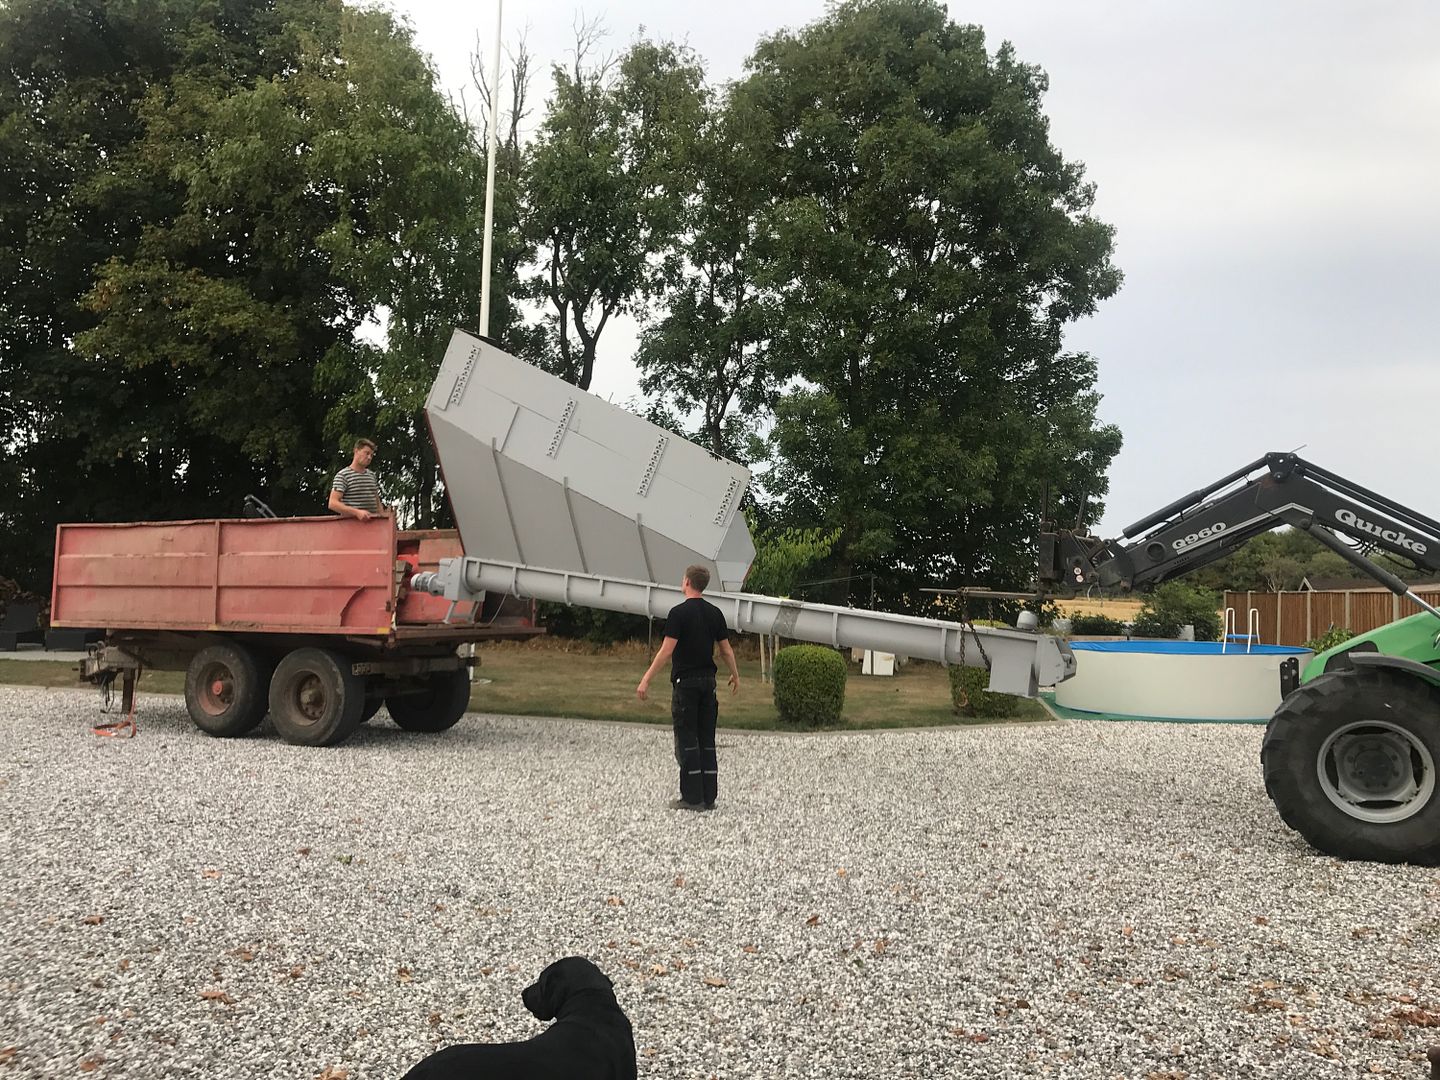
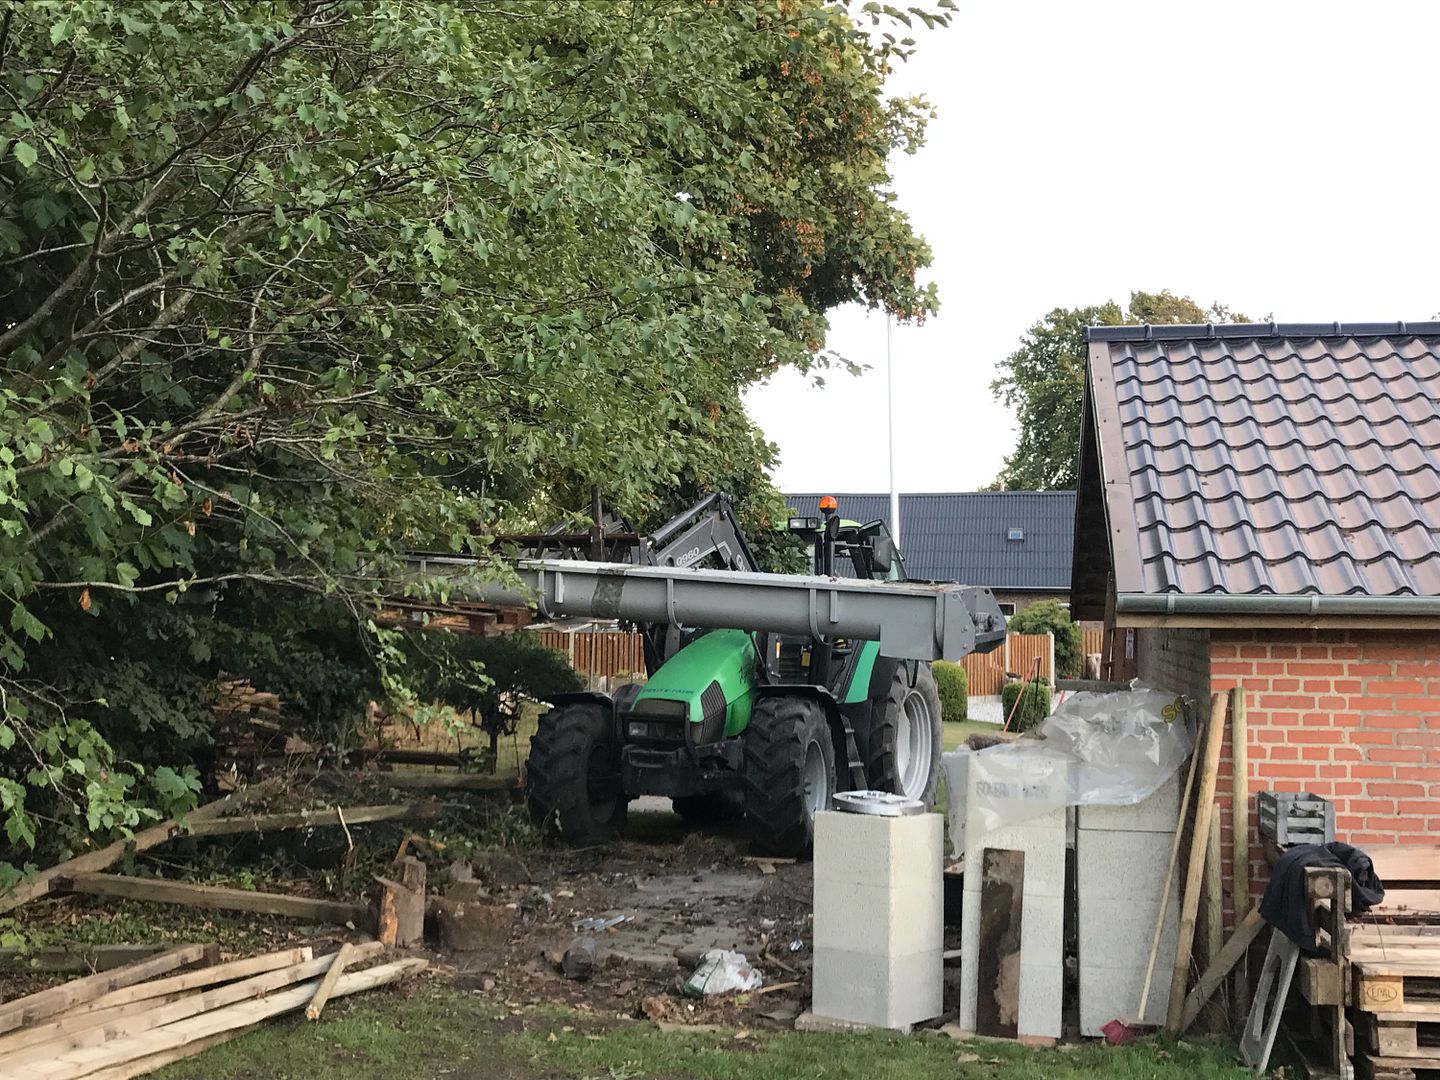
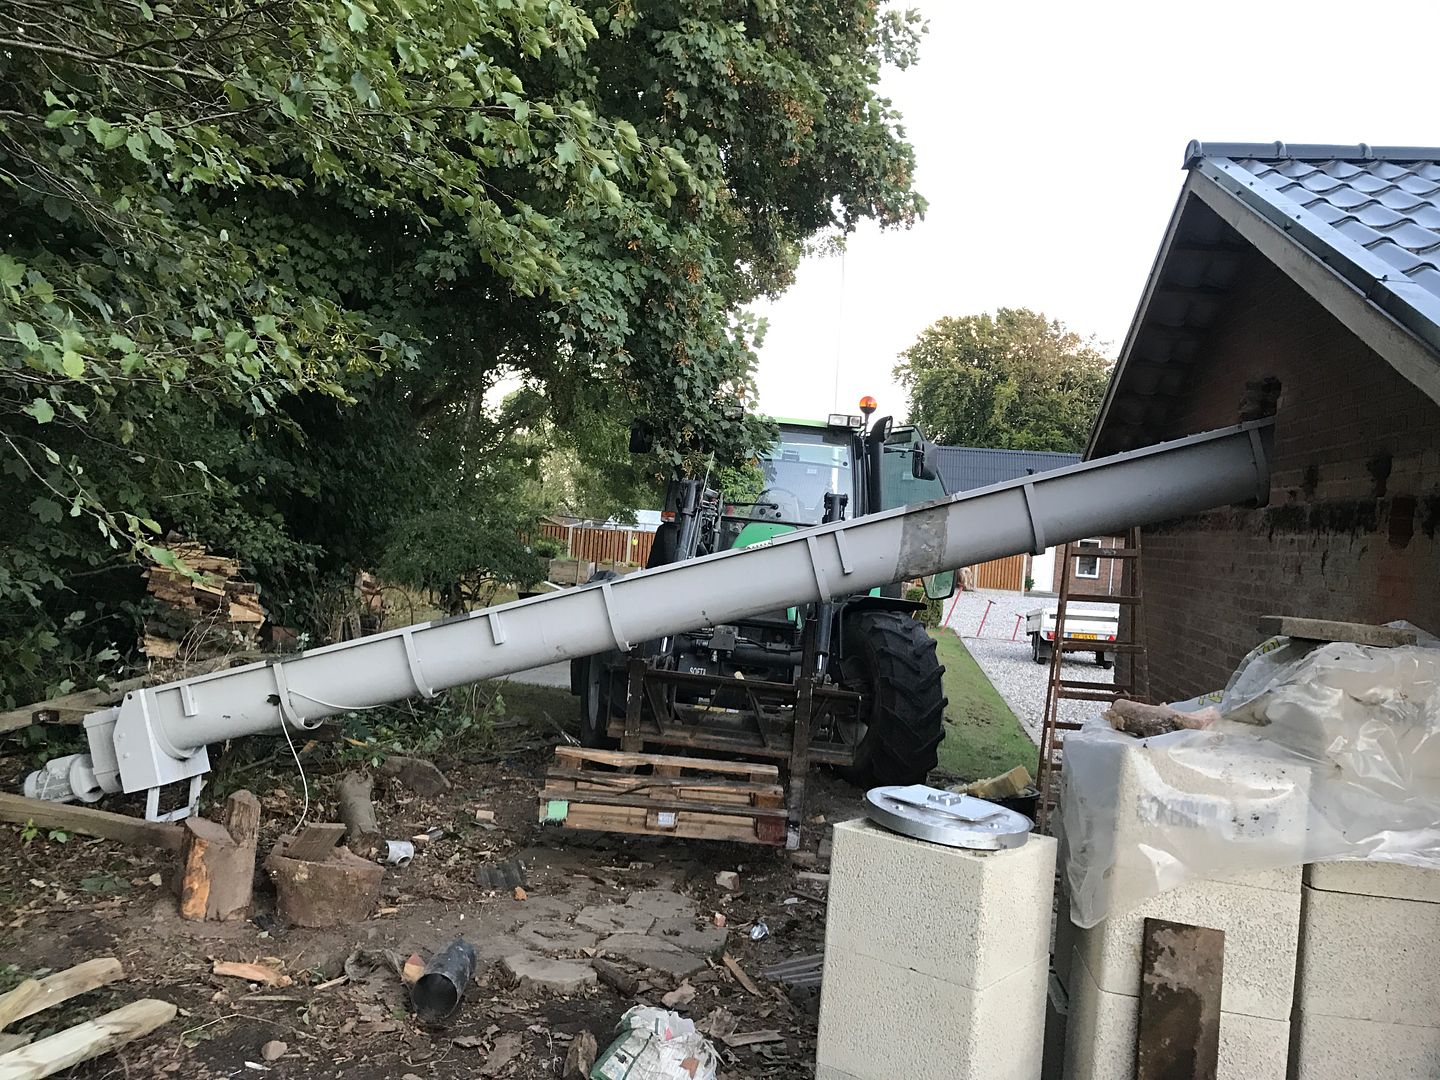
Dejligt med noget ordenligt maskineri. Deutz-Fahr 106 fra 1999
Prøve montering.
Denne metode var dog for ineffektiv. idet meget af bygningen hvor fliset skulle ligge i, ikke kunne bruges, grundet den højde som sneglen skulle op i.
Ideen blev derfor droppet.
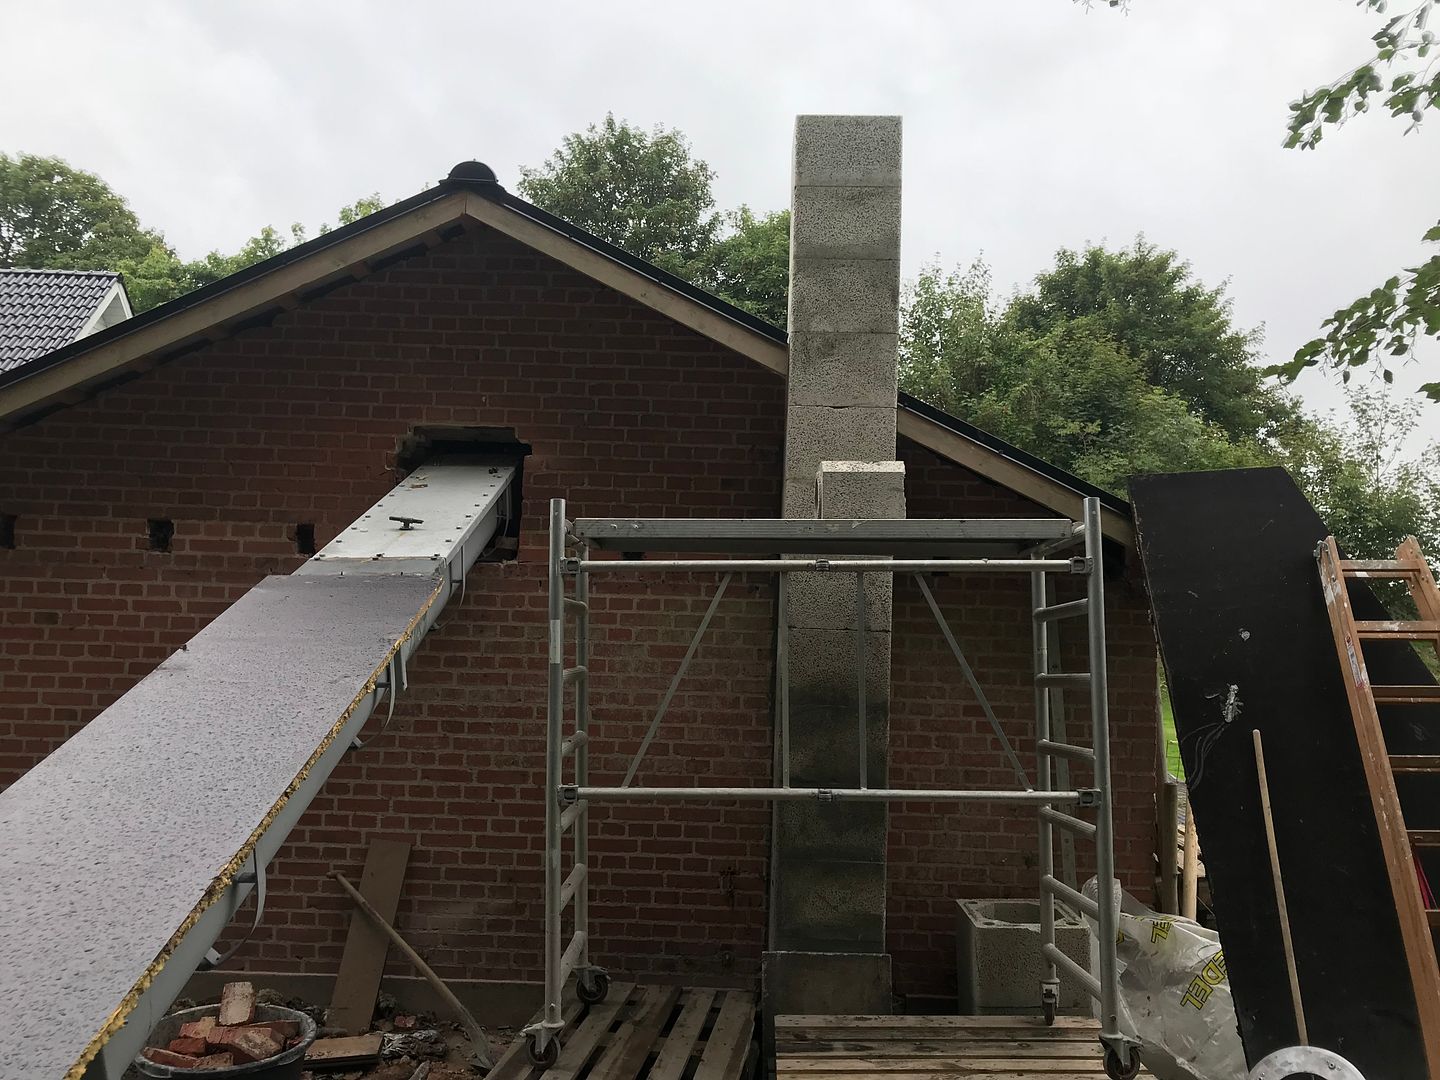
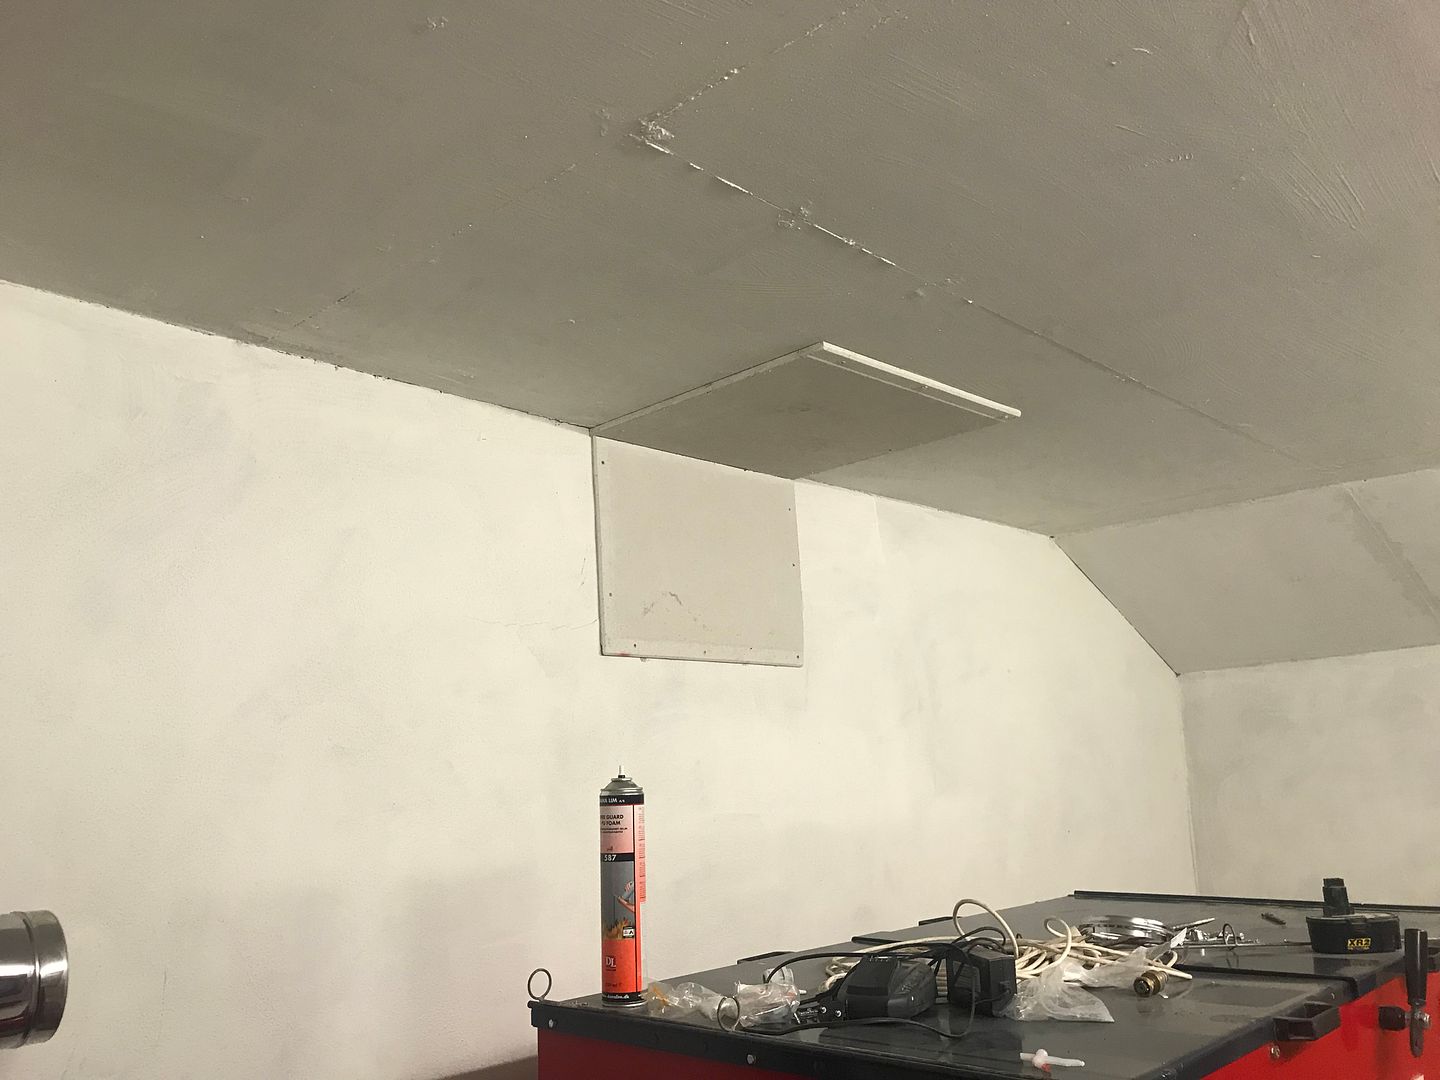
Op med skorstenen. ø160mm isoleret
Min nye idé (Eller faktisk med en grundig snak med stokergården) var, at grave ned ad. For at lave samme løsning ala en korngrav fra landbruget. Dette kræver dog at fliset er nogenlunde tørt.
Jorden er meget leret hvor vi bor. Og ekstrem hård.!!!
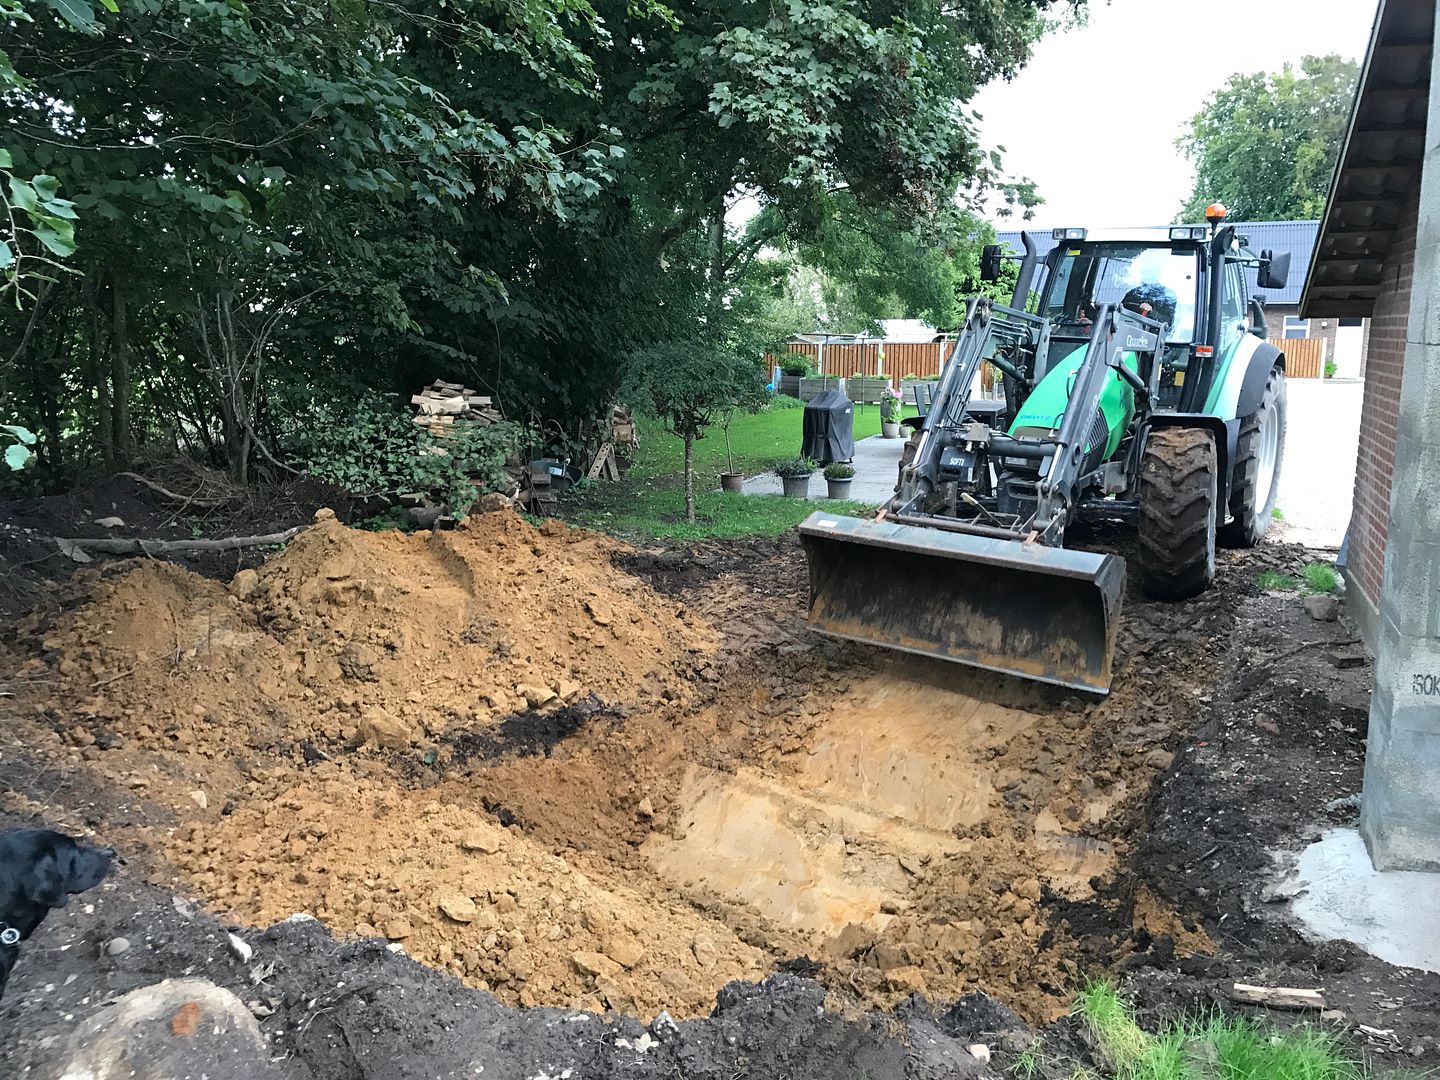
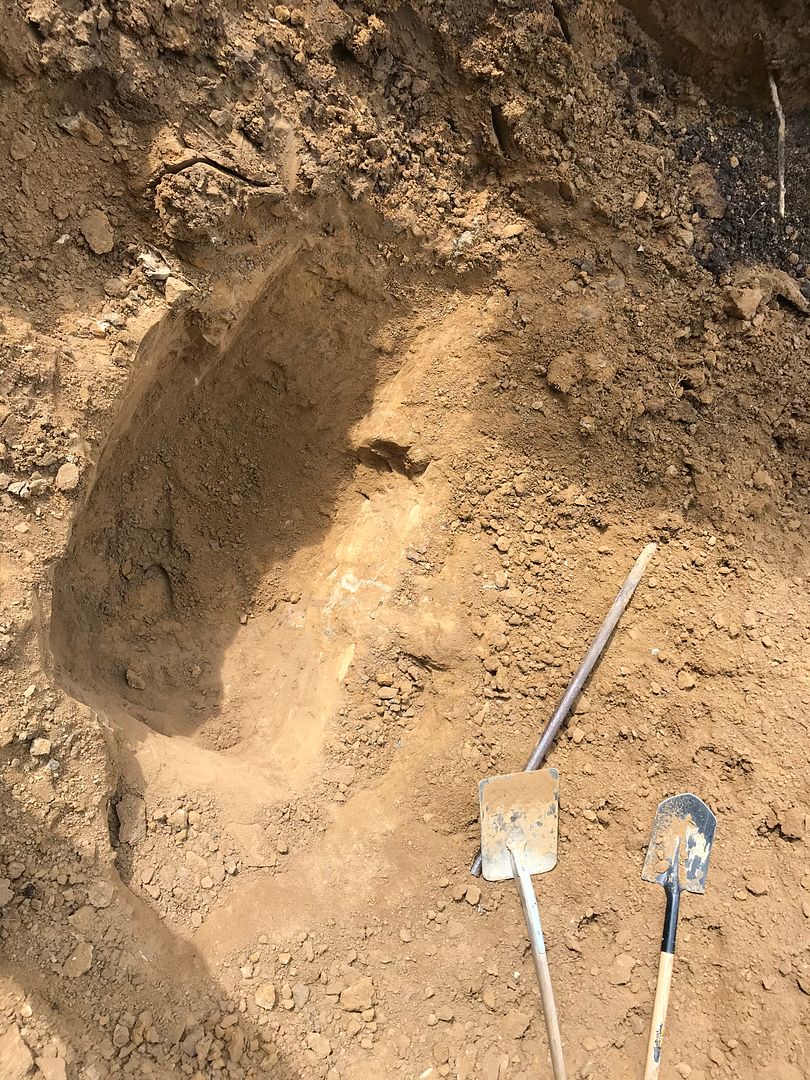
Da traktoren ikke kunne grave dybere, måtte jeg igang med skovl og manuel håndkraft.
Det lille hul, på max 1m3 tog omkring en dag at grave. For hver gang jeg hakkede spaden i, fik jeg løsnet en håndfuld.
Fruen overtalte mig til at droppe det, og tage "laveste hængende frugter" først. Der var stadig en del vvs der skulle laves.
1" rør i loftet i værkstedet. Så huset kan kobles på.
Værkstedet blev renoveret i 2016. Dette blev gjort mens jeg rejste en del. Hvor min rotation var 4uger ude, og 1 hjemme. Så der blev værstedet lavet.
Projekt flis snegl blev droppet for 2018. Derfor blev hullet lukket af.
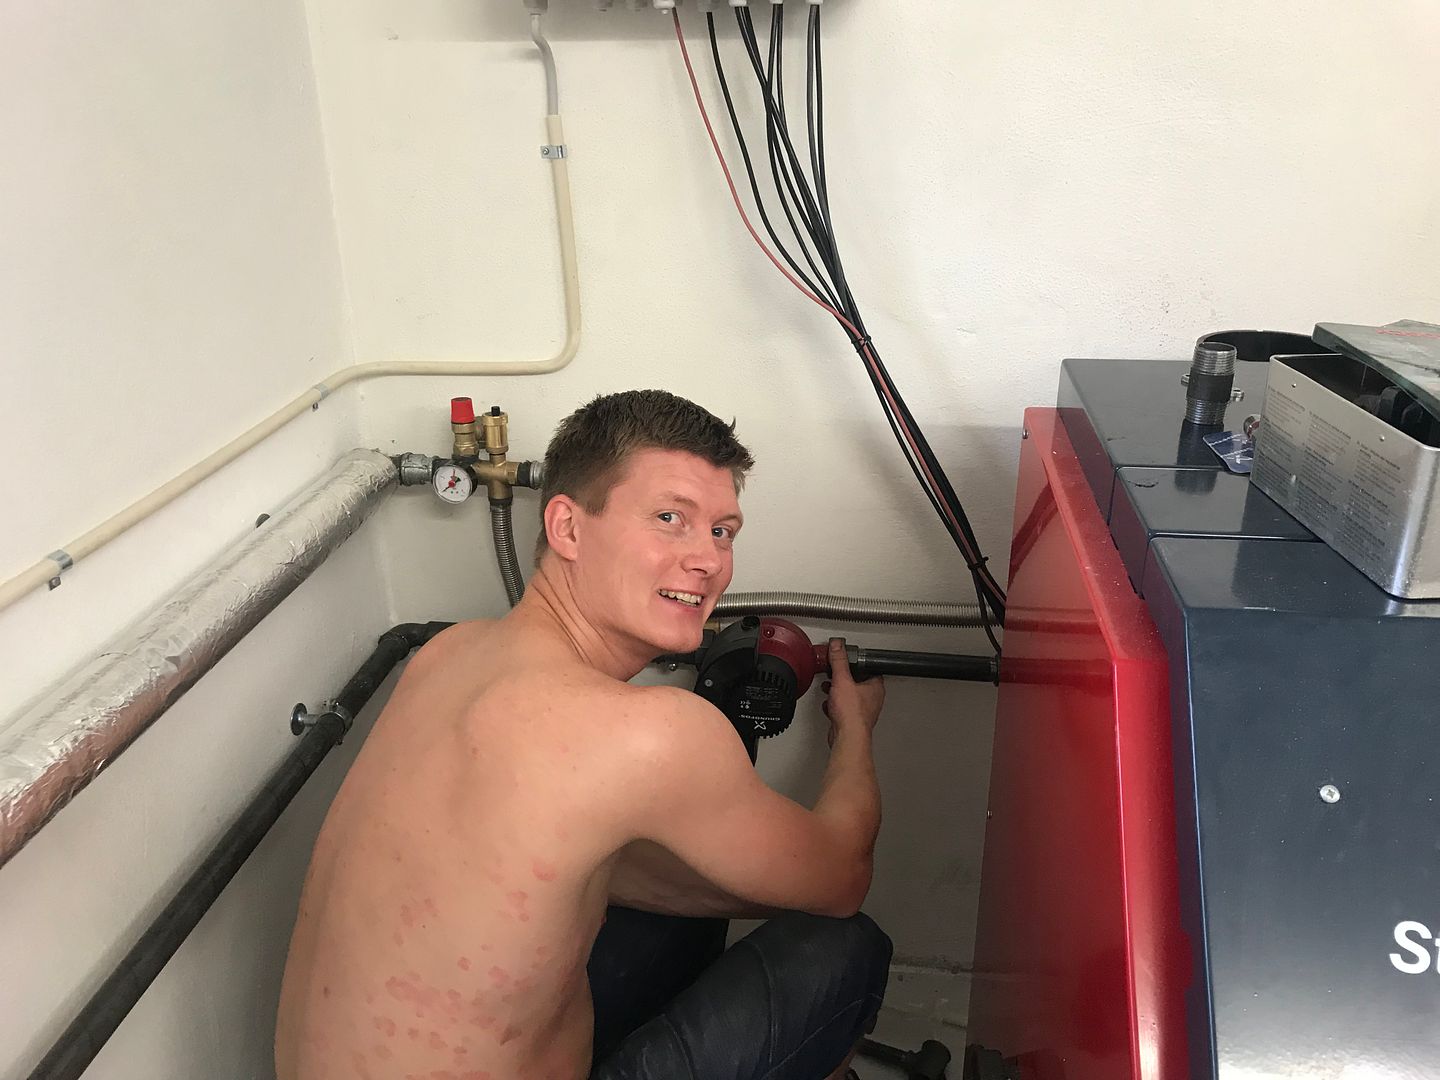
Første opstart af anlægget. Det køre på roefrø. Det var lige det eneste min brormand havde liggende. Det er altid hyggeligt første gang, når systemet skal udluftes. Det kan godt tage et par tuborgs tid.
")
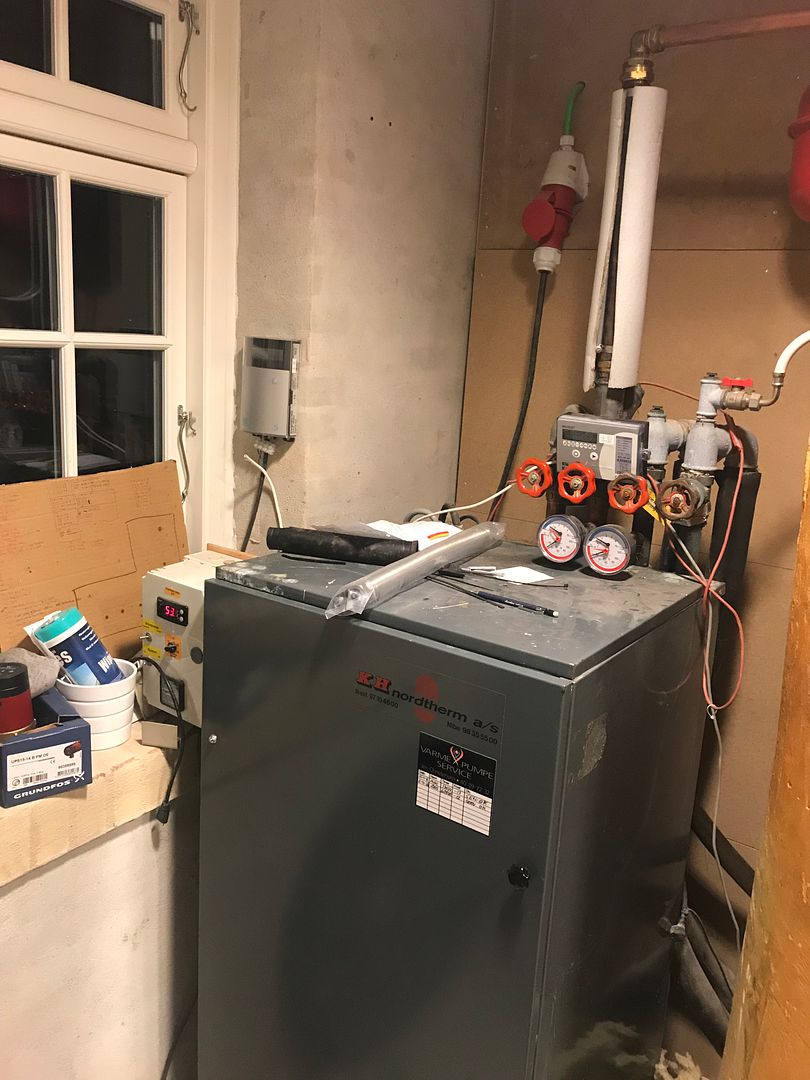
Her er mit varmepumpe anlæg.
Varmepumpen er sat til, at starte ved 32gr, slutte på 42gr. Derfor kobler den automatisk ind, hvis "retur" bliver for kold efter fyret har været slukket.
Varmeanlægget er derfor 100% redundant.
VP har en 7kw elpumpe. Den har ved høj brine temperatur en COP på 3,3 og ved lav cirka en på 2,6-2,8
Sikke en fornøjelse!